
If you’re dealing with rust, dents, or cracks in your truck bed, Bondo can be a practical solution for restoring damaged metal surfaces at home. Bondo, a brand of automotive body filler, is widely used to repair compromised metal quickly and affordably. Whether you’re restoring an older pickup or prepping for a fresh paint job, knowing how to Bondo a truck bed correctly ensures durable results and a smooth finish. Without paying for a body shop, you can address significant damage and stop rust from spreading further.
This guide walks you through every stage: from inspecting damage and prepping the surface to mixing, applying, and finishing the Bondo. You’ll learn how to sidestep common pitfalls like overfilling, improper curing, and poor adhesion. With the right preparation and technique, your truck bed will look solid and be ready for primer and paint. Let’s dive into the process so you can restore strength and appearance to your vehicle’s most rugged component.
Inspect Damage Before Opening the Can
Before you crack open any Bondo, look over the entire truck bed carefully. Check for rust spots, dents, holes, or cracked seams, especially along the bed rails, corners, and floor near the tailgate. Use a flashlight and a metal probe such as a screwdriver to feel for soft or flaky metal. If the metal bends easily or crumbles, the damage is too severe for filler alone and may require a welded patch or panel replacement.
Separate Repairable From Unrepairable Areas
- Repairable: Surface rust, small dents, shallow pits, and hairline cracks
- Unrepairable: Large holes, severely corroded panels, or structural weakness
If more than 30% of a section is compromised, consider cutting out the bad metal and welding in a new patch. Bondo should never go over loose rust or flexible metal, since it will crack and fail under stress.
Check for Moisture and Hidden Corrosion
Trapped moisture allows rust to creep beneath Bondo over time. Tap the metal with a coin; a dull thud often signals hidden corrosion. Remove any trim, liners, or bed mats to expose all areas. Address leaks from the tailgate seal or bed joints now to prevent future problems.
Strip Paint and Rust Down to Bare Metal
Bondo bonds only to clean, bare metal. Any paint, rust, or debris left in place causes adhesion failure. Strip the damaged area down to raw metal using one of these approaches.
Grind With an Angle Tool
Use a 40 to 80 grit flap disc on an angle grinder to remove paint and rust quickly. Work in overlapping passes until all oxidation is gone and shiny silver metal appears. Feather the edges of surrounding paint by sanding outward about 2 inches to create a smooth transition.
Pro Tip: Don’t grind too deep. Avoid creating low spots or thinning the metal further.
Use a Wire Wheel for Crevices
For corners, seams, and rivets, switch to a wire wheel attachment on a drill. It’s less aggressive but effective at cleaning tight spots where rust hides.
Wipe Down With a Degreaser
After sanding, wipe the area with wax and grease remover or isopropyl alcohol. This step removes oils, dust, and contaminants that can interfere with bonding. Avoid household cleaners, since they often leave residue behind.
Mix and Apply Bondo the Right Way
With the surface prepped, it’s time to mix and apply the filler. Getting the correct ratio between resin and hardener is critical for proper curing.
Measure Resin and Hardener Correctly
Scoop a golf ball-sized amount of Bondo onto a clean mixing board made of cardboard or plastic. Add a pea-sized dab of red hardener. Mix thoroughly with a plastic stick or tongue depressor until the color is uniform and no streaks remain, which usually takes 1 to 2 minutes.
Warning: Too much hardener causes rapid curing and cracking. Too little means the filler won’t harden properly.
Spread With a Flexible Spatula
Use a 2 to 3 inch flexible metal body filler blade to press Bondo into the damaged area. Work from high points toward low spots, forcing the material into crevices. Slightly overfill the dent so you have material to sand flush later.
Key Application Tips:
– Apply in layers no thicker than 1/8 inch
– Let thick fills cure partially before adding more
– Press firmly to avoid trapping air bubbles
– Smooth in one consistent direction
Shape and Sand the Filled Area

Once Bondo has cured, typically 10 to 20 minutes depending on temperature, it’s time to shape and sand the surface smooth.
Rough-Shape With a File
Start with a coarse 80-grit file or Surform tool to knock down high spots and get close to the original contour. This step saves significant time compared to sanding alone. Follow the natural curves of the truck bed rather than flattening rounded areas.
Wet-Sand for a Smooth Finish
After rough shaping, switch to wet-sanding with 180 to 220 grit sandpaper. Mix water with a few drops of dish soap in a spray bottle and mist the surface as you sand. This technique reduces dust and prevents the paper from clogging.
What to Look For:
– Feathered edges blending into the original metal
– No sharp ridges or low spots
– Smooth transitions across the repair
Use a sanding block to keep the surface flat and even. Check progress frequently by running your hand lightly over the area.
Prime and Seal the Repair
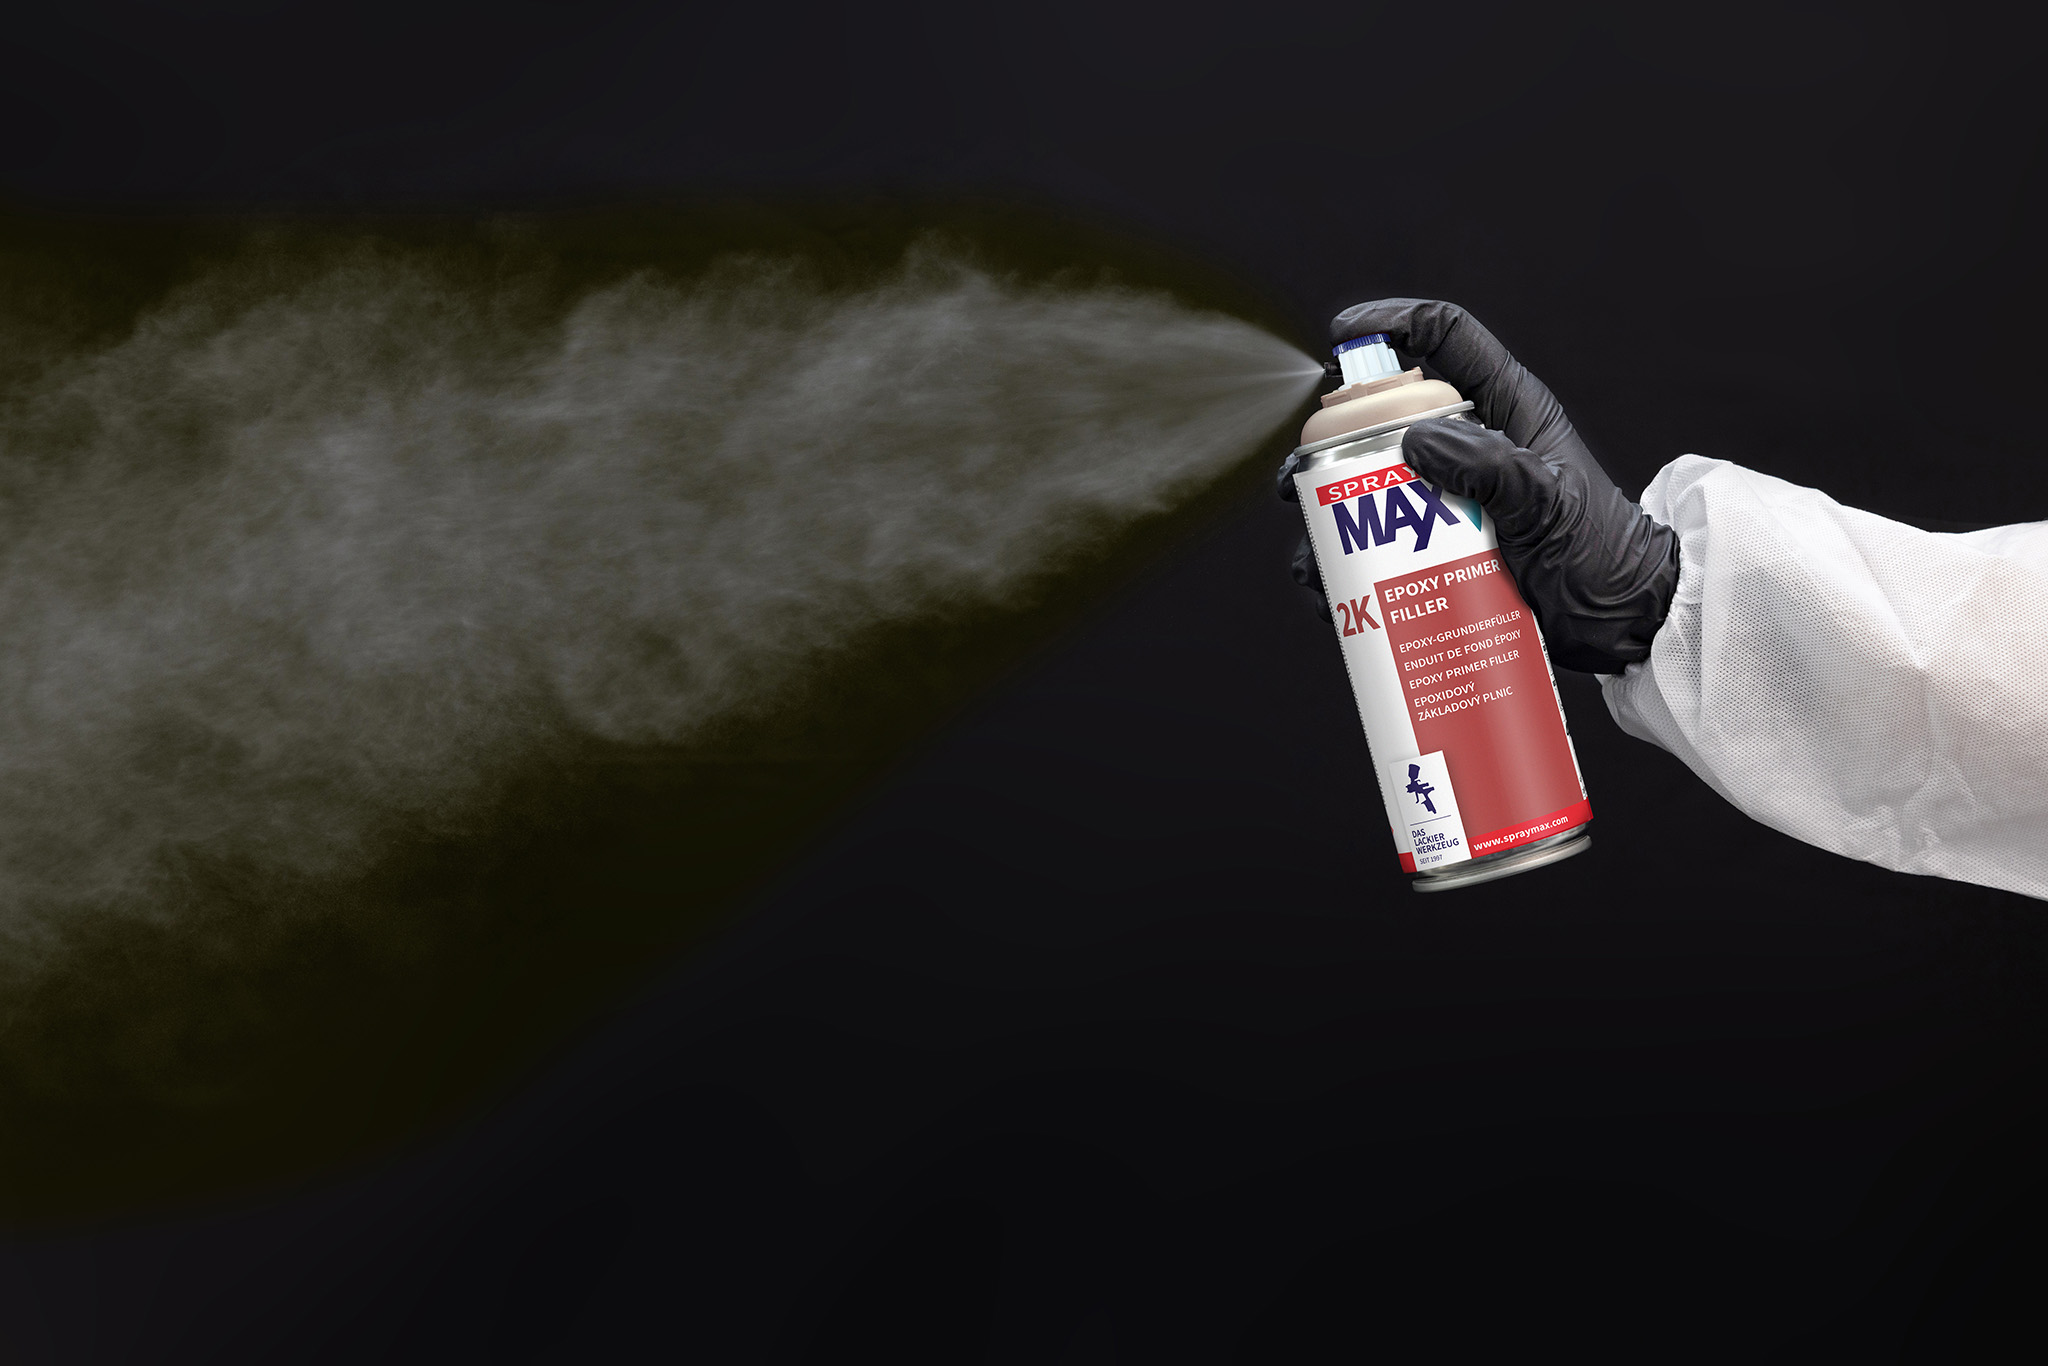
Bondo is porous and will absorb moisture if left exposed. Always seal it with urethane or epoxy primer before applying any topcoat.
Spray on Epoxy Primer
Apply 2 to 3 light coats of 2K epoxy primer over the sanded Bondo and surrounding bare metal. This step seals the filler and prevents rust from forming underneath. Let each coat flash off according to the product instructions.
Alternative: If spray primer isn’t available, brush on a thin layer of fiberglass resin as a sealer.
Block Sand After Priming
Once the primer dries, lightly sand with 320 to 400 grit paper to remove orange peel and create a flawless surface. Wipe clean with a tack cloth before moving on to the final coat.
Paint and Protect the Bed
While Bondo handles the structure, the finish protects it long-term. For truck beds, durability matters most.
Choose a Durable Topcoat
Consider these options for maximum protection:
– Spray-on bedliner (e.g., Line-X): Best for heavy-duty use
– Two-stage urethane paint: Ideal for show-quality finish
– Rattle-can enamel: Budget-friendly DIY option
Avoid standard lacquer, since it won’t stand up to road debris or UV exposure.
Apply Multiple Thin Coats
Whether painting or coating, apply thin, even layers. Let each coat dry fully before adding the next. For bedliners, the texture helps hide minor imperfections.
Pro Tip: Mask off wheel wells and tailgate hinges before spraying to avoid overspray.
Prevent Future Damage
A repaired truck bed won’t stay perfect without ongoing maintenance. Take these steps now to extend the life of your work.
Keep the Bed Clean and Dry
Wash out dirt, salt, and moisture on a regular basis. Place a rubber bed mat over high-wear zones like the tailgate area to absorb impact.
Clear Leaks and Drain Holes
Make sure drain holes near the bed corners stay unblocked. Replace worn tailgate seals to stop water from pooling.
Inspect Annually
Check for new rust spots, especially under seams and near bolts. Spot-treat early with rust converter and touch-up paint before small issues grow.
Frequently Asked Questions About Bondo Truck Bed Repairs
Can Bondo hold up to heavy use in a truck bed?
Bondo performs well on truck beds when properly applied over clean, solid metal and sealed with a durable topcoat. However, it should not be used as a structural patch over large holes or severely corroded areas. For high-impact zones, adding a spray-on bedliner over the repair adds extra protection.
How thick can I apply Bondo in one layer?
Each layer should stay under 1/8 inch thick. Thicker applications risk trapping air, curing unevenly, or cracking over time. For deeper dents, build up the repair in multiple thin layers, allowing each to partially cure before adding the next.
How long does Bondo last on a truck bed?
A properly prepped, applied, and sealed Bondo repair can last many years. Lifespan depends heavily on exposure to moisture, road salt, and physical impact. Regular cleaning and prompt touch-ups on chips or cracks significantly extend durability.
Do I need to remove all rust before applying Bondo?
Yes. Every trace of loose or flaking rust must be removed down to clean metal. Any remaining rust continues to spread beneath the filler and weakens adhesion. Use a grinder, wire wheel, or sandpaper followed by a wax and grease remover wipe-down.
What primer works best over Bondo on a truck bed?
2K epoxy primer is the most reliable sealer over Bondo because it blocks moisture and adheres strongly. After it cures, block sand with 320 to 400 grit and apply your chosen topcoat or bedliner. Avoid basic lacquer primers, which don’t seal porous filler effectively.
Can I apply Bondo in cold weather?
Bondo cures best at temperatures between 60 and 80 degrees Fahrenheit. Cold conditions slow the hardening reaction and can result in a soft or inconsistent cure. If working in cooler weather, warm the surface and materials slightly and allow extra curing time.
Key Takeaways for a Lasting Bondo Truck Bed Repair
Successfully learning how to Bondo a truck bed comes down to three core principles: thorough preparation, correct mixing, and proper sealing. Always strip the damaged area down to clean metal, mix filler and hardener in precise ratios, and finish with epoxy primer and a durable topcoat. These steps prevent the most common failures, including cracking, peeling, and hidden rust spread.
Your next step is to gather your materials and set aside a full afternoon for the repair. Start with a careful inspection, then move methodically through grinding, filling, shaping, and sealing. With patience and attention to detail, your truck bed will be restored to a strong, smooth, and ready-to-paint condition.