
You’ve loaded up your truck bed, hit a bump, and watched everything scatter. Tools rolling into the wheel wells. Coolers sliding against the tailgate. Camping gear shoved against the cab. That frustration is exactly why learning how to build truck bed storage is worth your weekend. A custom storage system transforms your pickup from a cargo chaos zone into an organized mobile workspace.
This guide covers the entire build process from start to finish. You’ll learn how to measure your bed correctly, choose materials that survive weather and heavy use, construct a sturdy frame, and anchor everything securely. Whether you drive a Ford F-150, Toyota Tacoma, Chevrolet Silverado, or RAM 1500, these steps apply to most standard pickup beds.
Plan Your Storage Layout Before Cutting Anything
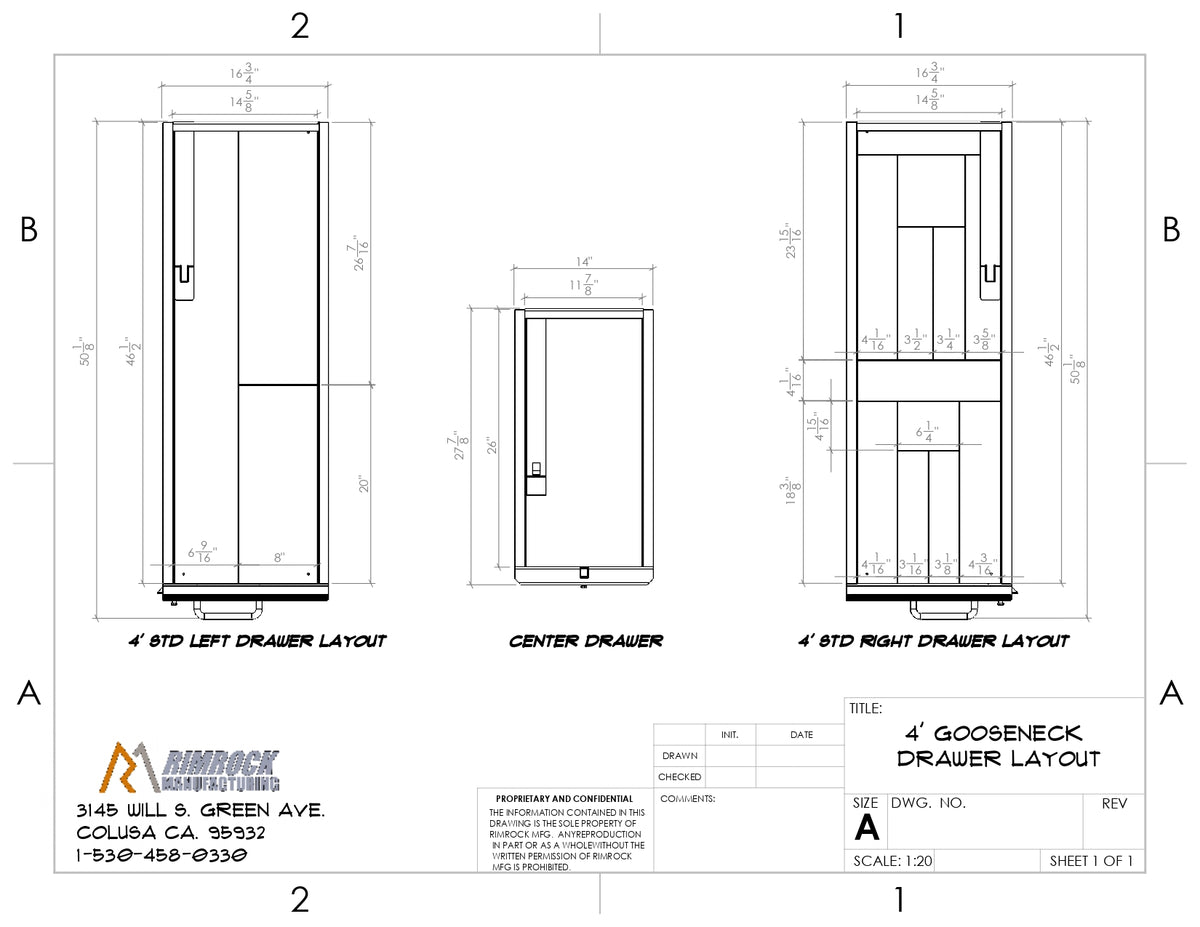
Jumping straight into construction leads to wasted materials and a system that doesn’t fit your needs. Spend an hour planning and you’ll save three hours of rework.
Measure Your Truck Bed Dimensions Accurately
Grab a tape measure and record the interior length, width, and height of your bed. Note wheel wells, tie-down rails, and any lighting fixtures that eat into usable space. Standard bed sizes include:
- Short bed: approximately 5.5 feet (66 inches)
- Standard bed: approximately 6.5 feet (78 inches)
- Long bed: approximately 8 feet (96 inches)
Measure front to back, side to side, and from bed floor to top of the side rails. Sketch these numbers on graph paper or use free software like SketchUp Free to visualize the build.
Identify What You’re Actually Storing
List the items you haul most often. Power tools and extension cords? Fishing rods and tackle boxes? Camping gear or work supplies? Group items by size and how often you reach for them.
Frequently used gear belongs in easy-access compartments. Seasonal items can sit in deeper bins. Long objects like ladders or lumber need dedicated slots. This step determines your compartment sizes and layout.
Decide Between Fixed and Removable Designs
A fixed storage unit bolts to your truck bed for maximum stability. A removable unit sits inside without permanent modifications, letting you pull it out when hauling large loads.
Removable systems often use locking pins, L-brackets, or friction-fit braces. Choose removable if you switch between organized storage and full-bed hauling. Choose fixed if your storage needs are constant and you want zero movement.
Choose Materials That Survive the Real World

Your truck bed faces rain, mud, road salt, sun, and constant vibration. Cheap materials fail fast. Pick components built for abuse.
Start with Weather-Resistant Plywood
Marine-grade plywood is the go-to choice for wooden truck storage. It’s waterproof, rot-resistant, and holds screws better than standard plywood. Skip particleboard and MDF entirely; they swell and crumble when wet.
Seal all cut edges and surfaces with marine epoxy or outdoor polyurethane. Add aluminum or plastic edge trim to protect corners from dings and abrasion.
Consider Aluminum or Composite Panels for Lighter Builds
Aluminum sheet panels and plastic composite boards (like Trex) cost more upfront but resist rust and dents extremely well. They require metal shears or carbide-tipped bits to cut, but the results look professional and last for years.
Reinforce Every Joint with Metal Brackets
Galvanized steel L-brackets or aluminum angle brackets at all corners prevent racking (twisting under load). Pre-drill holes to avoid splitting wood. These small parts make the difference between a box that lasts one season and one that lasts a decade.
Build a Storage Frame That Won’t Fall Apart
With your plan and materials ready, assembly begins. Take your time here; mistakes compound quickly.
Cut All Panels to Size First
Transfer your measurements to plywood or composite sheets. Use a circular saw with a straight-edge guide for clean cuts. Label each piece (left side, right side, base, front, back) to avoid mix-ups during assembly.
Cut internal dividers now if they’re part of the main frame. A center bin for small tools might need two vertical dividers cut to a specific height.
Assemble the Box and Check for Square
Lay the bottom panel face-up. Attach side panels vertically with wood glue and screws. Then attach front and back panels. Use clamps to hold pieces square while fastening.
Check squareness by measuring diagonally from corner to corner. Both measurements must match. Adjust before the glue sets or your doors won’t close properly later.
Add Internal Dividers and Organizational Inserts
Install vertical dividers for tool compartments using glue and screws from top and bottom. For flexible storage, mount slatwall panels or pegboard inserts inside. These let you rearrange hooks and bins whenever your needs change.
Install Lids and Doors for Protection and Security

Closed storage shields your gear from rain, dust, and theft. Build these components tough.
Build Hinged Lids That Seal Tight
Cut lid panels slightly larger than the opening, leaving a 1/8 inch overhang on each side. Attach stainless steel piano hinges along one edge for smooth operation. Add gas struts or spring hinges to hold lids open when you’re digging through deep bins.
Line lid edges with closed-cell foam weatherstripping to create a water-resistant seal when closed.
Add Lockable Doors for Valuable Items
Side-access compartments benefit from flush-mounted doors with cam locks or keyed paddle latches. Use recessed hinges so doors sit flat against the frame. For narrow side bins, install a sliding door track to save swing space.
Anchor the Unit So It Never Shifts

A storage system that slides around during hard braking is dangerous and useless.
Bolt It to the Bed Floor for Maximum Security
Drill through the bottom of your storage frame and into the truck bed’s metal floor. Use self-tapping metal screws (Tek screws) or bed anchor bolts. Place anchors near all four corners and at midpoints for longer units.
If drilling holes isn’t an option, build a friction-fit base with rubber pads on the bottom. Add J-hooks over the bed rails or use tiedown straps anchored to factory cleats for stability.
Add Bracing for Extra Anti-Movement Protection
Install adjustable turnbuckles or telescoping braces from the storage unit to the bed walls. These press outward and lock the unit in place without drilling. They work well for leased vehicles or shared trucks.
Add Smart Features That Boost Daily Usability
A basic box holds stuff. A smart box makes your work easier.
Wire Up Power and Lighting
Run a 12V wire from your truck battery through a fuse tap to power LED strips inside compartments. Add a motion-sensor light or magnetic work light for nighttime access. Include a USB charging port or cigarette socket adapter for tool batteries and phones.
Protect wires with conduit and install a resettable circuit breaker for safety.
Build In Tool Organization
Mount pegboard panels, magnetic tool strips, or rubberized matting inside lids and walls. Use 3D-printed holders or rubber grommets to secure drills, wrenches, and extension cords. Contractors can add a fold-down work tray or built-in vise at waist height for on-site convenience.
Integrate Cargo Management Systems
Install tie-down points, bungee cord rails, or sliding trays for frequently used gear. A pull-out drawer on ball-bearing glides makes deep storage accessible without crawling into the bed. Use neoprene gaskets on drawers to block dirt and moisture.
Maintain Your Build So It Lasts for Years
Even the toughest storage system needs basic upkeep.
Clean After Heavy Use
Wipe down surfaces with mild soap and water. Remove mud, salt, or debris that degrade seals and finishes. Leave lids open after wet conditions so the interior dries completely.
Re-Seal Wood Surfaces Annually
Inspect wood edges and screw holes once a year. Reapply waterproof sealant to prevent moisture intrusion. Check metal brackets for rust and treat them with anti-corrosion spray.
Tighten Hardware Every Few Months
Driving vibrations loosen fasteners over time. Check all screws, hinges, and latches every few months. Replace worn components before they fail on the road.
Frequently Asked Questions About Truck Bed Storage
What is the best material for DIY truck bed storage?
Marine-grade plywood offers the best balance of strength, weight, and cost for most DIY builds. Aluminum and composite panels last longer and resist rust, but require specialized tools and cost more upfront.
How much does it cost to build truck bed storage?
A basic plywood storage system typically costs between $150 and $400 in materials, depending on size and features. Aluminum or composite builds run $400 to $800 but last significantly longer.
Can I build truck bed storage without drilling holes?
Yes. Use a friction-fit base with rubber pads, J-hooks over the bed rails, or telescoping braces that press against the bed walls. These methods keep your truck’s bed unmodified while preventing movement.
How do I waterproof my truck bed storage build?
Seal all wood surfaces with marine epoxy or outdoor polyurethane. Add closed-cell foam weatherstripping around lid edges. Use stainless steel or galvanized hardware to prevent rust around seal points.
What tools do I need to build truck bed storage?
Basic builds require a circular saw, drill/driver, measuring tape, clamps, and a sander. Metal or composite builds add metal shears, a jigsaw, and carbide-tipped drill bits to the list.
Will a storage unit affect my truck’s payload capacity?
Yes, slightly. A plywood storage unit typically weighs 50 to 100 pounds. Factor this into your truck’s payload rating, especially if you regularly haul heavy materials.
Key Takeaways for Building Truck Bed Storage
Building custom truck bed storage is one of the most practical upgrades you can make to your pickup. Focus on accurate measurements, weather-resistant materials, and secure anchoring. Start with a simple layout, then add smart features like lighting and power once the core build works.
Grab your tape measure, sketch your layout, and pick up materials this weekend. A well-built storage system pays for itself the first time you open your tailgate and find exactly what you need without digging through a pile of loose gear.