
If water pools in your truck bed after every rainstorm, you are dealing with one of the most common tonneau cover frustrations. While these covers are designed for weather resistance rather than complete waterproofing, excessive leaks usually point to fixable issues like worn seals, misaligned clamps, or missing drain tubes. The good news? Most leaks can be stopped for under $150 in parts, saving you from spending $800 or more on a replacement cover.
This guide walks you through a proven, step-by-step repair process. You will learn how to identify exact leak locations, replace degraded seals, clear drainage systems, and apply low-cost upgrades that deliver near-waterproof performance. Whether you own a soft roll-up, tri-fold hard cover, or retractable model, these solutions work across major brands.
Pinpoint the Leak Source

Before purchasing parts or applying sealants, you need to know exactly where water enters. Skipping this step leads to wasted money on unnecessary repairs.
Perform a Water Spray Test
Have a helper stand inside the truck bed with a flashlight while you work outside. Close the tonneau cover securely, then open the tailgate. Use a garden hose set to low pressure and spray systematically across the front edge near the cab, side rails, and rear corners. Watch for drips, mist, or water streams entering through seams, gaps, or joints. Start at the top and work downward since water follows gravity and can travel before dripping.
Try the Soap Bubble Test
Mix dish soap with water in a spray bottle and apply it to suspected problem areas. Focus on latches, seams, the front bulkhead, and hinge joints. Have your helper watch for bubbles forming, which indicates air and water leaks. Mark each problem spot with tape for targeted repair.
Common Leak Zones to Check
The front corners by the cab rank as the most frequent leak site due to height mismatch between the front bed rail and side rails. The tailgate gap allows wind-driven rain to sneak in if the seal is not tight. Side rail ends and gutters can overflow without proper drain tubes installed. Drain tube outlets that are missing or clogged cause water to pool inside the rail system. Hinge creases on folding covers often seep during heavy rain.
Clean the Cover and Rails Thoroughly
Dirt, old adhesive, and grime prevent seals from creating proper contact. This step is essential before applying any new sealants or replacement parts.
Wash All Components
Use mild soap or a tonneau-specific cleaner to wipe down the cover surface, seals and gaskets, rail extrusions, and gutter channels. Avoid harsh chemicals that degrade rubber and vinyl materials. A clean surface ensures new adhesives bond properly.
Remove Old Adhesive Residue
Apply isopropyl alcohol for light residue. For stubborn glue, use Rapid Remover or a plastic razor blade. An eraser wheel attached to a drill makes fast work of cleaning rail T-slots. Wear goggles and a respirator when using industrial solvents.
Final Preparation
Wipe all surfaces with isopropyl alcohol to ensure a clean bonding surface. Let everything dry completely before reassembly or applying sealants.
Replace Damaged or Worn Seals
Seals are the first line of defense against water intrusion. Most leaks stem from degraded, missing, or improperly installed seals.
Choose the Correct Seal Type
Universal extruded rubber seals work for side rails and install without slitting. Roll-out foam or rubber tape fits front and back flaps; trim flush after installation. Adhesive-backed foam tape in 1/8-inch or 1/4-inch thickness works for the front bulkhead. Replace disintegrated foam under rail extrusions with new strips bonded using 3M VHB tape. Install flexible rubber tubes over drain nipples to route water outside.
Install New Seals Properly
Stretch side seals into T-slots without cutting. Press bulkhead tape firmly into place. Use 3M Weatherstrip Adhesive for long-term hold. For under-rail foam, bond with 3M VHB tape since it outperforms standard glue.
Fix Front Edge Gaps
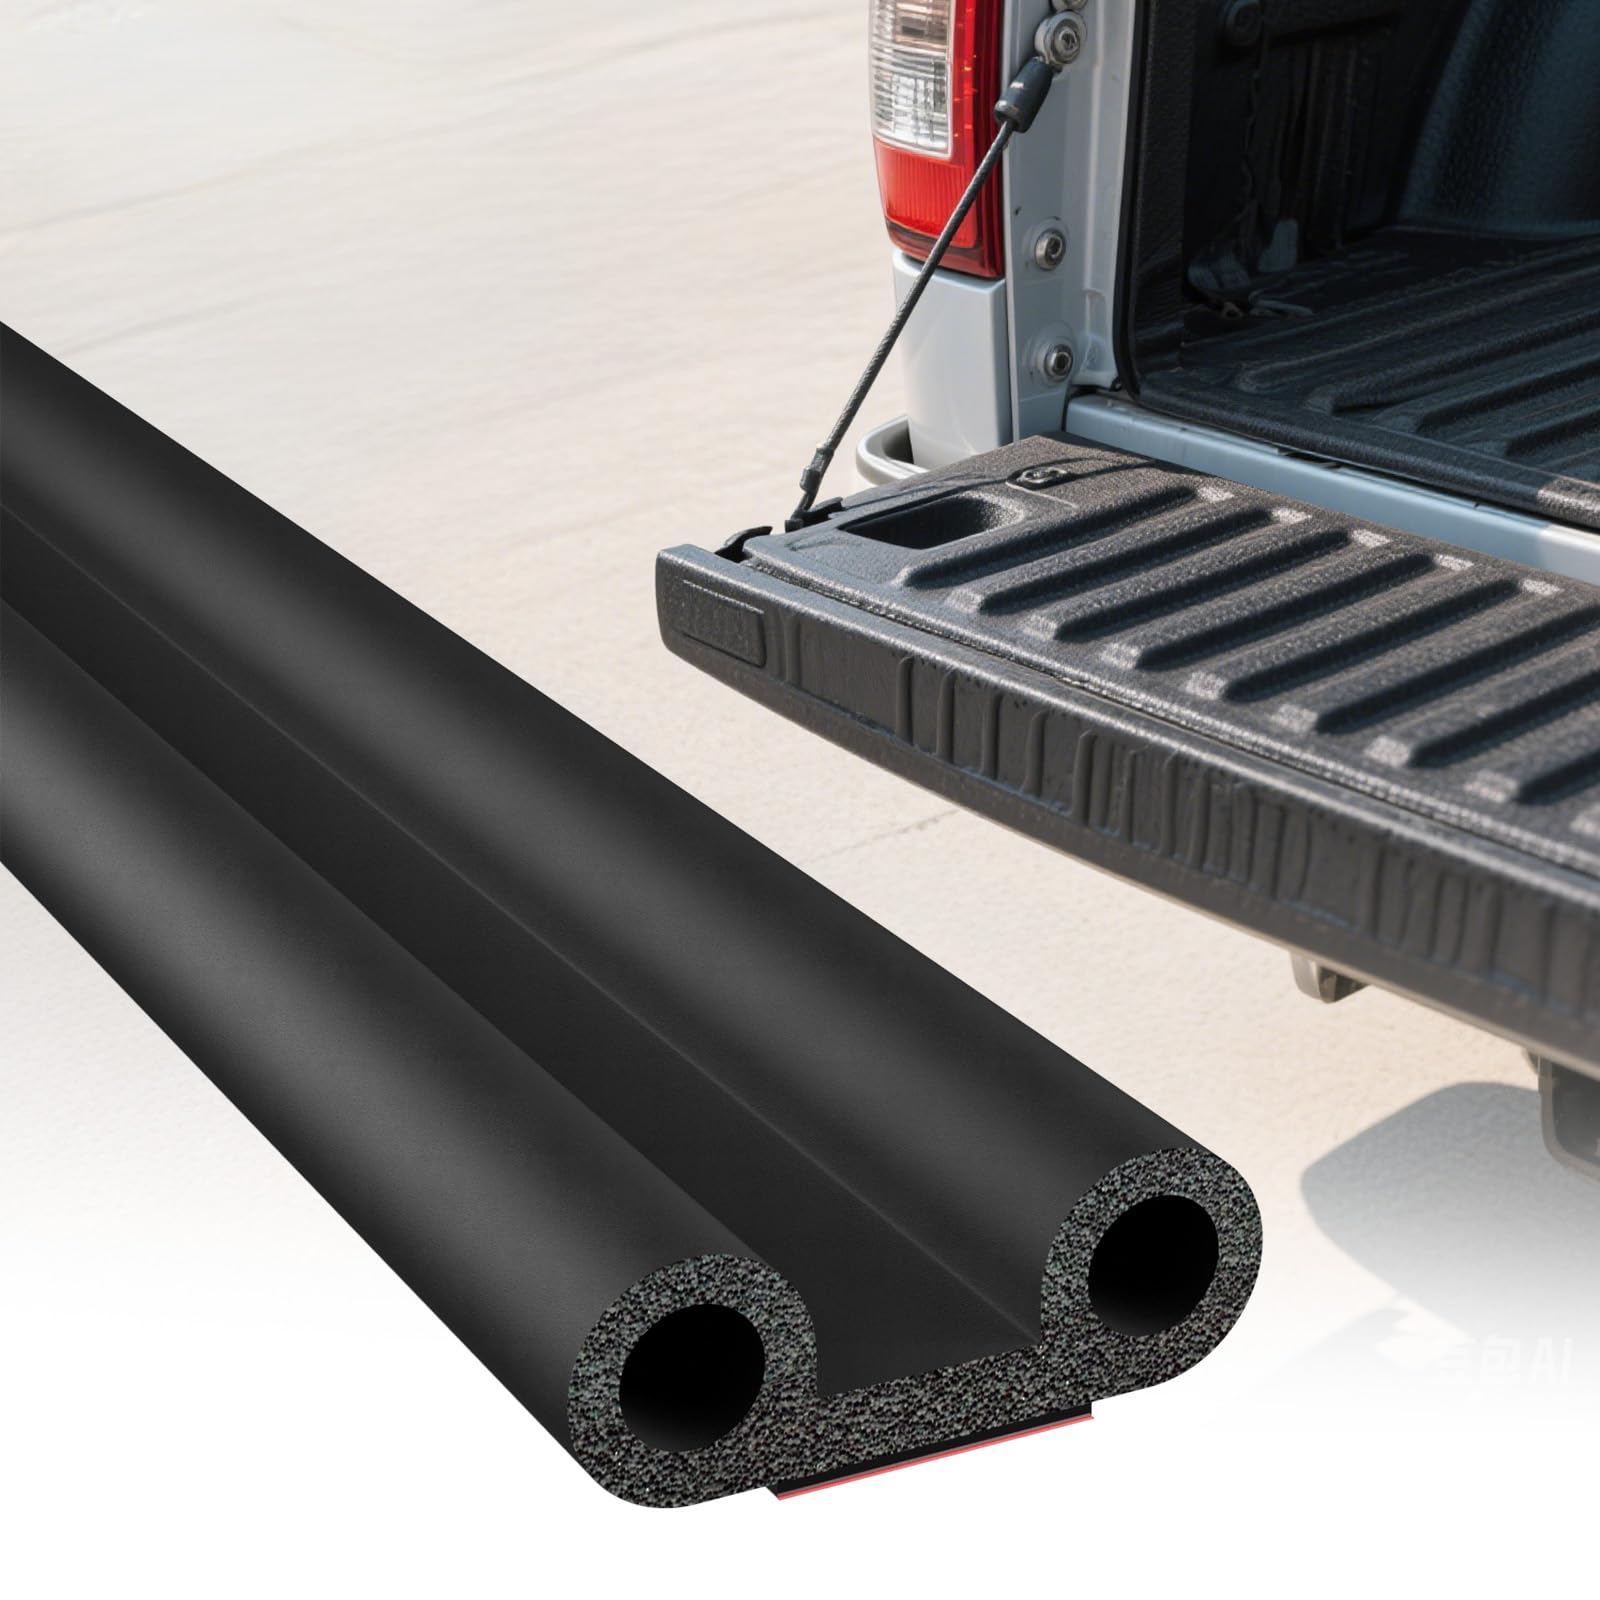
The front bed rail sits lower than side rails on many trucks, creating a gap that allows rain to flow directly into the bed. This is especially common on Toyota Tacomas and similar models.
Use Pipe Insulation as a Seal
Purchase ½-inch pre-slit rubber pipe insulation from a hardware store, approximately 6 feet for under $5. Remove the front cargo track if equipped. Attach one edge of the insulation to the back of the track or rear face of the front rail. Reinstall the track, clamping the insulation in place. When you close the cover, the foam compresses and seals the gap.
Alternative Solutions
Closed-cell foam tape with adhesive backing works well. Weather stripping from 3M provides another option. Custom foam shims can be glued or taped in place for larger gaps.
Clear and Install Drain Tubes
Many hard covers include drain nipples but no tubes, causing water to pool inside the rail system instead of draining out.
Locate and Inspect Drain Nipples
Find the drain nipples at the rear corners of the side rails. Check whether tubes are present, connected, and routing water outside the truck bed.
Install or Replace Drain Tubes
Use flexible rubber or plastic tubing in ¼-inch to 3/8-inch diameter. Slide tubing over drain nipples and extend it so water discharges outside the bed, not into enclosed cavities. Disconnect existing tubes and flush with a garden hose, syringe, or turkey baster to clear clogs. Reconnect securely after cleaning.
Repair or Replace Damaged Components
Inspect mechanical parts that affect fit and sealing performance.
Check These Common Problem Areas
Latches may be loose, misaligned, or frozen shut. Clean with brake cleaner and lubricate with silicone spray. Hinges can crack, corrode, or loosen; tighten bolts or replace as needed. Support bars sometimes bend or detach; reattach or order replacements. Prop-rod clips break or go missing, causing sagging.
Upgrade the Tailgate Seal
Apply adhesive-backed rubber or foam strip along the top edge of the tailgate. This creates a tighter seal with the tonneau cover and significantly reduces rear-corner leaks.
Apply Sealants to Vulnerable Areas
For persistent leaks at seams or joints, sealants provide additional protection.
Recommended Sealant Options
Silicone sealant offers flexibility and UV resistance. Urethane adhesive provides permanent bonding. 3M VHB tape works идеально for attaching shims, seals, or reinforcing rail mounts.
Application Process
Clean and dry the area completely. Apply sealant along seams, holes, or joints. Smooth with a gloved finger. Allow 24 hours of cure time before exposing to rain.
Adjust Tension and Alignment
A misaligned cover will not seal properly, regardless of material quality.
For Soft Roll-Up Covers
Locate tension adjusters, typically knobs or turnbuckles. Tighten evenly on both sides until the fabric is taut with minimal sag. Do not over-tighten, which can damage mounting points.
For Hard Folding Covers
Loosen clamps slightly and reposition the cover to sit centered and square. Re-tighten bolts while holding alignment. Check for equal gaps along both sides. With the tailgate open and cover closed, look for daylight between them and adjust as needed.
Add Supplemental Seals
Go beyond factory parts with additional protection.
Foam Pipe Insulation for Front Gaps
This low-cost upgrade costs under $5 and proves highly effective. The foam compresses when the cover closes, filling micro-gaps.
Bed Seal Kits
Brand-specific kits from Bison, Extang, or TruXedo include pre-cut foam blocks, enhanced seals, and drain upgrades. Most install in under an hour with no tools required.
Front Bulkhead Sealing for Retractable Covers
Apply closed-cell foam tape between the canister and cab wall. This prevents water from running behind the housing.
Optimize Your Drainage System
Drainage failures cause most chronic water problems in hard folding and retractable covers.
Common Drainage Problems
Missing tubes mean nipples are present but no discharge path exists. Clogged tubes from leaves, dirt, or ice block flow. Internal routing dumps water into the rail cavity instead of outside.
Maintenance Schedule
Clean drains every 3 to 6 months. Flush before winter to prevent ice blockage. Remove salt and debris promptly after exposure.
Model-Specific Solutions
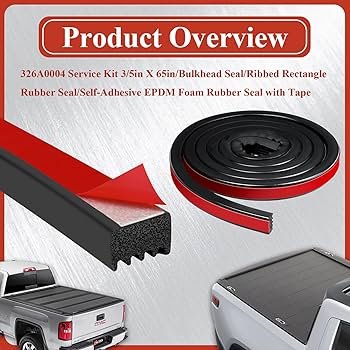
Different cover types require different approaches.
Tri-Fold Hard Covers
These models from BAKFlip and similar brands are prone to side rail and tailgate leaks. Use foam strips on rails for better sealing. Check for daylight under the closed cover, which indicates misalignment. Some generic covers lack proper seals entirely.
Retractable Covers
Leaks commonly occur at the front canister-to-bulkhead gap. Apply closed-cell foam tape between the housing and cab. Clean drain tubes monthly.
Cover Type Comparison
OEM covers often lack drain tubes and have weak front seals. Lund Advantage covers leave gaps due to stake hole design. BAKFlip models have repairable seals that degrade over time. Undercover SolidFOLD offers nearly leak-free performance with a single hinge design.
Maintain Your Cover to Prevent Future Leaks
Regular maintenance prevents small issues from becoming major problems.
Maintenance Checklist
Inspect seals for cracks every 3 months. Clean drain tubes every 6 months. Tighten mounting hardware every 6 months. Clean the cover and rails monthly. Lubricate latches annually. Reapply sealant as needed, typically annually.
Seasonal Care
Use 303 Aerospace Protectant on vinyl or fabric covers to resist UV damage. Apply silicone lubricant before winter. Clear snow gently without sharp tools. Thaw frozen latches with a hair dryer rather than boiling water.
When to Repair vs. Replace
Choose Repair If
The cover structure is intact. Leaks are localized to specific areas. Drain tubes or seals are missing but replaceable. DIY repair cost stays under $150.
Choose Replacement If
The cover is torn, delaminated, or sagging. Hinges or supports are broken. Repairs fail repeatedly. You need true waterproofing. A solid single-hinge model like Undercover provides the best weather protection.
Recommended Tools and Products
Must-Have Repair Items
Stock universal rubber side seals, foam tape in 1/8-inch and 1/4-inch thicknesses, drain tubes and caps, 3M VHB tape, 3M Weatherstrip Adhesive, silicone sealant, isopropyl alcohol, and Rapid Remover.
Essential Tools
Have a plastic razor blade, eraser wheel for drill attachment, scissors, 5/8-inch wrench, garden hose with nozzle, and syringe or turkey baster available.
Protective Gear
Wear gloves, goggles, and a respirator when using solvents.
Frequently Asked Questions About Fixing a Leaking Tonneau Cover
Why does my tonneau cover leak even after replacing seals?
Seals may be installed incorrectly or the wrong type for your model. The leak source might also be misidentified, or multiple problem areas exist. Drain tubes could be clogged or missing. Perform a water spray test to identify all leak locations.
How much does it cost to fix a leaking tonneau cover?
Most repairs cost between $50 and $150 for parts. Full seal replacement runs approximately $100. This is significantly cheaper than replacement covers that cost $800 or more.
Can I make my tonneau cover completely waterproof?
No tonneau cover is 100% waterproof by design. However, you can achieve near-waterproof performance through proper seal replacement, drain tube installation, gap sealing with pipe insulation, and regular maintenance. Solid single-hinge models come closest to true waterproofing.
How often should I clean my tonneau cover drainage system?
Clean drain tubes every 3 to 6 months, especially before rainy seasons or winter. More frequent cleaning may be needed if you park under trees or drive in dusty conditions.
What is the most effective DIY fix for tonneau cover leaks?
Foam pipe insulation applied to front edge gaps is one of the most cost-effective and impactful upgrades, costing under $5. Combined with seal replacement and drain tube installation, it resolves the majority of leak issues.
Key Takeaways for Fixing Your Leaking Tonneau Cover
Most tonneau cover leaks stem from three main issues: degraded or missing seals, missing drain tubes, and front edge gaps from height mismatch. Identifying the exact leak source through a water spray test or soap bubble test saves money by ensuring you fix the right problems. Replacing all seals costs approximately $100 and can extend your cover’s life by 10 years or more. Pipe insulation for front gaps and proper drain tube installation are the most impactful low-cost upgrades, often costing under $10 combined. Regular maintenance including seal inspection, drain cleaning, and hardware tightening prevents leaks from returning. If repairs fail repeatedly or you need true waterproofing, upgrading to a solid single-hinge model like Undercover SolidFOLD provides the best long-term solution.


