
Installing a SnugTop tonneau cover transforms your truck bed into a secure, weather-protected cargo area with a sleek factory-style appearance. However, improper installation leads to water leaks, misalignment, or damage to the cover’s fiberglass construction. This guide walks you through every critical step, from prepping your truck bed to testing the lock mechanism, so you achieve a professional-quality fit the first time.
You’ll learn exactly how to clean and tape surfaces, position the heavy cover safely, secure the mounting frame, install support shocks correctly, and make final adjustments for a weather-tight seal. Whether you’re upgrading for long-term durability or need maximum cargo security, these field-tested procedures ensure your SnugTop performs as intended.
Prepare the Truck Bed and Cover Surfaces
Before placing your SnugTop cover, thorough surface preparation prevents water intrusion and ensures proper sealing. This step takes 15 to 20 minutes but saves hours of troubleshooting later.
Clean All Contact Surfaces
Wipe down both the truck bed rails and the underside perimeter of the SnugTop cover using isopropyl alcohol. Remove all manufacturing oils, dust, and debris from these key areas:
- Top edges of the bed rails along both sides
- Corner seams where rails meet the bulkhead
- Area behind the cab near the bulkhead
- Tailgate junction points along the rear bed edge
Skipping this step compromises adhesion and leads to premature seal failure.
Apply Bed Tape for Weather Resistance
Install 1-inch wide by 1/8-inch thick foam tape along the top edge of your truck bed rails and the corresponding contact surface on the tonneau cover. This tape creates a water-resistant barrier, prevents metal-to-metal contact, reduces vibration and wind noise, and protects against corrosion.
Peel off the white backing before positioning the cover. Press firmly along the entire length to ensure full adhesion with no wrinkles or gaps.
Position the SnugTop Cover Accurately
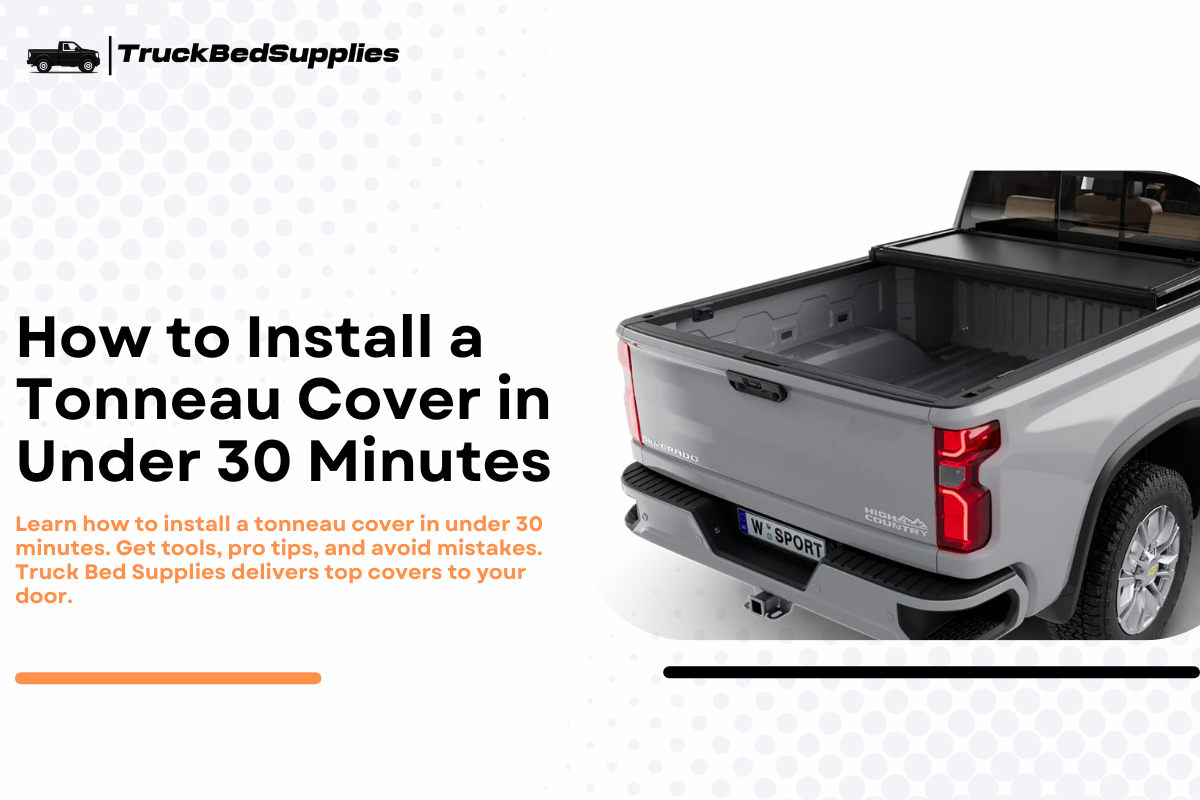
Fiberglass SnugTop covers weigh 60 to 100 lbs depending on bed size, so proper handling prevents damage and injury. Take your time with positioning because this step determines your final fit.
Lift and Place with Assistance
Use a forklift or mechanical lift if available for safe handling. Attach wood brackets to the cover edges for secure lifting points. If working with assistants, have at least one person on each side support the weight. Never grab the cover by its edges alone, as this can cause stress cracks in the fiberglass material.
Align Corners and Check Gaps
Lower the cover slowly onto the truck bed, aligning all four corners precisely with the bed corners. Check that gaps between the cover and bed rails remain even all around the perimeter. The front edge must sit flush against the bulkhead with no gaps.
Run your hand along the seam to detect any unevenness. If you feel high or low spots, the cover is misaligned and requires adjustment before securing.
Verify Tailgate Clearance
Close the tailgate fully and check for any contact between the tailgate and the tonneau cover. Even minor interference prevents proper latching and damages paint over time. If contact occurs, reposition the cover slightly forward or backward and recheck alignment until no interference exists.
Install the Mounting Frame Rail First
The frame rail serves as the structural foundation for the entire SnugTop system. Installing this first anchors the mounting points, distributes weight evenly, and ensures correct shock alignment.
Bolt the frame rail securely to factory or pre-drilled holes in your truck bed structure. Confirm the rail sits level and aligned with the bed before fully tightening hardware. Skipping this step causes misalignment, stress fractures, and wobbling during use.
Secure the Cover with C-Clamps Temporarily
With the cover aligned, lock it in place using C-clamps with 9/16-inch bolts while completing remaining installation steps. Position two clamps per side, placing one near the bulkhead at the front and one near the tailgate at the rear.
Tighten clamps using an air ratchet for consistent pressure or a standard ratchet wrench as an alternative. Do not over-tighten, as excessive force dents bed rails or warps the cover edges. The clamps hold everything steady while you install shocks and make final adjustments.
Install Support Shocks Correctly
Proper shock installation ensures smooth operation and prevents the cover from slamming shut or failing to stay open. Many users install shocks backwards, causing poor performance and potential injury.
Raise Cover to Optimal Angle
Lift the tonneau cover to approximately 30 degrees using a winch, lift, or manual assistance. This angle provides optimal access to shock mounts while reducing strain on hinges and latches. If working alone, use your feet to hold the cover steady while installing shocks one at a time.
Attach Shocks to Ball Joints
Rotate each shock into correct alignment with its mounting bracket. Locate the retaining clip on the ball joint and insert a small screwdriver to gently pop it out. Slide the shock onto the ball joint mount and push until it clicks securely into place. Remove the screwdriver and the clip re-engages automatically.
Tug gently on each shock to confirm it stays firmly seated. Verify the shock orientation matches manufacturer specifications before proceeding.
Make Final Adjustments for Perfect Fit
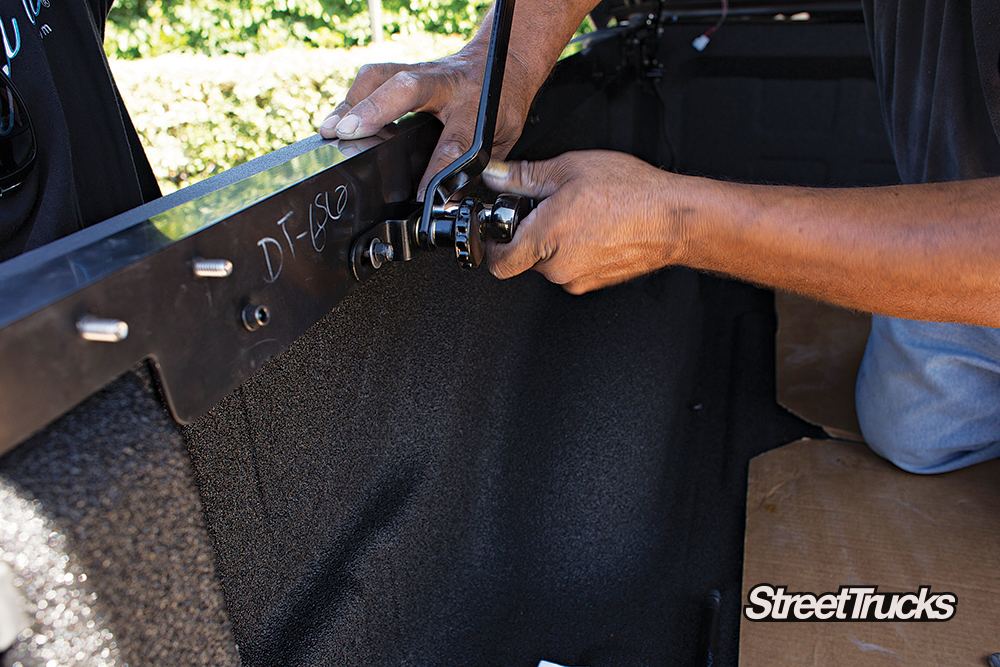
With all components installed, fine-tune alignment and tension to achieve a weather-tight seal. This step separates a professional installation from a problematic one.
Inspect for Gaps and Realign
Close the cover and walk around the truck checking for gaps along the bed rails. Run your fingers along seams to feel for inconsistencies. If gaps exist, slightly loosen the clamps, reposition the cover for even pressure all around, and re-tighten.
Adjust Rope Tension Properly
Some SnugTop models use a side tension rope system. Use an Allen wrench to tighten the rope until the cover feels firm but not overly tight. Too loose causes wind noise and water seepage. Too tight creates stress on the frame. Aim for snug but flexible.
Test Lock and Latch Operation
Engage the integrated key lock if your model includes one. It should click smoothly and hold the cover securely closed. If the lock binds, check alignment and ensure the tailgate isn’t interfering. Lubricate the mechanism with silicone spray if needed.
Test Operation Before Driving
Cycle the cover open and closed at least five times before driving. Watch for smooth movement, consistent shock support, and secure latching without binding or sticking. Open and close the tailgate in all positions to confirm no interference with the tonneau cover.
Push down on the center of the closed cover. It should not flex or lift. Recheck bed tape adhesion, clamp tightness, and rope tension if movement occurs.
Maintain Long-Term Performance
Annual maintenance keeps your SnugTop functioning optimally for years. Inspect bed tape every 12 months and replace it if cracked, peeling, or compressed. Reapply new tape using isopropyl alcohol for proper surface prep.
Lubricate locks, hinges, and shock pivot points with silicone-based spray. Avoid oil-based products that attract dirt and degrade rubber seals. Check and retighten all mounting hardware every six months to compensate for vibration loosening.
Avoid Common Installation Mistakes
Skipping frame rail installation leads to misalignment and stress fractures. Never force misaligned parts, as this cracks fiberglass. Avoid over-tightening clamps, which dents steel rails or warps composite edges. Always verify shock orientation and seat the ball joint properly using the retaining clip method.
Who Should Install a SnugTop Cover
SnugTop covers suit long-term truck owners wanting permanent upgrades, drivers in harsh weather climates needing full protection, and anyone prioritizing cargo security with a lockable rigid design. The aerodynamic shape reportedly improves fuel efficiency by 1 to 2 mpg.
This installation is not recommended if you need frequent bed access, as folding or roll-up covers open faster. The 60 to 100 lb fiberglass construction also requires at least one helper for safe handling.
Frequently Asked Questions About Installing a SnugTop Tonneau Cover
How long does it take to install a SnugTop tonneau cover?
Installation takes 1.5 to 3 hours with one to two people assisting. The timeframe depends on your experience level and whether you have lifting equipment available.
Can I install a SnugTop cover alone?
Fiberglass SnugTop covers weigh 60 to 100 lbs, making solo installation dangerous and difficult. At minimum, one helper assists with lifting and positioning. A forklift or mechanical lift is ideal for safe handling.
Do I need to drill into my truck bed?
Most SnugTop models use factory or pre-drilled mounting holes. Some installations may require drilling, but this depends on your specific truck model and cover design. Check your installation instructions beforehand.
Why is my cover leaking after installation?
Leaks typically result from improper bed tape application, misalignment, or insufficient clamping pressure. Reinspect all contact surfaces, verify even gaps around the perimeter, and confirm bed tape is properly adhered with no gaps.
How often should I replace the bed tape?
Inspect bed tape annually and replace every 3 to 5 years or sooner if you notice cracking, peeling, or water pooling along seams. Proper maintenance extends the weather-resistant seal.
Can I pressure wash my SnugTop cover?
Avoid pressure washing near seals and gaskets. Clean the cover with mild soap and water using a soft cloth or sponge. Harsh chemicals or high-pressure water damages seals and compromises weather resistance.
Key Takeaways for Installing Your SnugTop Tonneau Cover

Proper installation of your SnugTop cover requires thorough surface preparation with isopropyl alcohol and quality bed tape for a weather-tight seal. Position the heavy fiberglass cover carefully, aligning all four corners evenly before securing with clamps. Install the frame rail first as the structural foundation, then attach support shocks at a 30-degree angle using the retaining clip method for secure ball joint connection.
Final adjustments including gap inspection, rope tensioning, and lock testing complete a professional-quality installation. Annual maintenance with bed tape inspection, silicone lubrication, and hardware retightening keeps your cover performing optimally for years of reliable service.


