A truck bed bob changes everything about your pickup’s stance and capability. This bold modification shortens the bed by several inches, creating an aggressive profile that turns heads at every stoplight. The catch? A bed bob demands surgical precision, solid welding skills, and patience that tests even seasoned builders. Most online guides skip the critical details—exact measurements, structural pitfalls, and finishing techniques that separate amateur welds from show-quality results.
This walkthrough covers the entire process from first measurement to final bedliner coat. You will learn where to cut, how to align sections perfectly, what reinforcement actually works, and how to seal everything for years of trouble-free driving.
Plan the Cut Location with Precision
Measure Twice Before Any Cutting
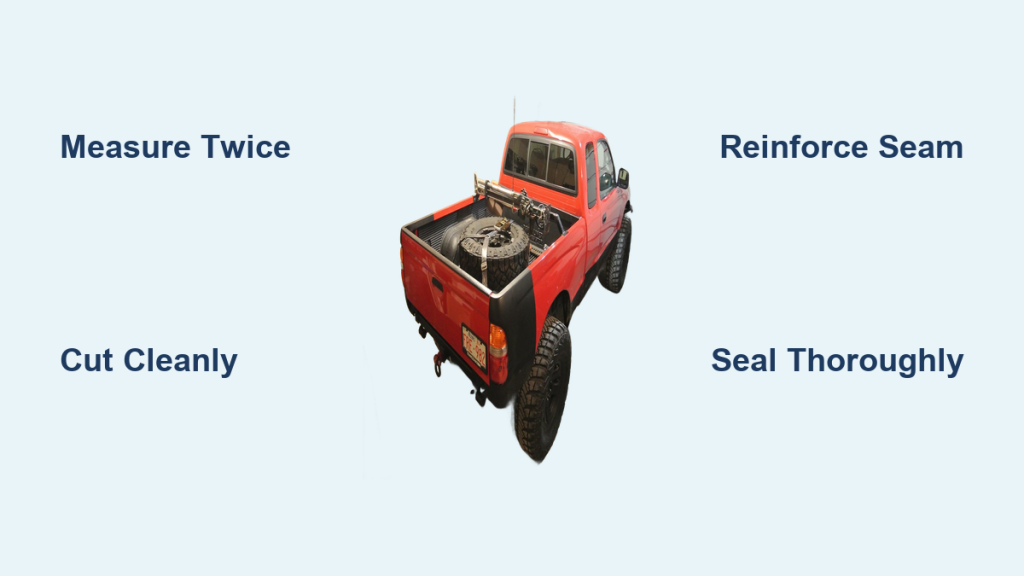
Determining how much bed to remove sets the tone for everything else. Most builders shorten the bed by 6 to 12 inches for a balanced look. Mark your desired cutting point with a tape measure, typically just behind the wheel well or near the spare tire crossmember.
Align your cut with structural supports whenever possible. Spot welds along the bed floor often indicate where internal crossmembers live. Cutting too close to these supports weakens the structure and creates alignment headaches during reassembly.
Visual Cue: Look for spot weld points along the bed floor. Measure 1 to 1.5 inches from these locations to avoid cutting directly on a crossmember.
Mark Cutting Lines on Both Sides
Grab a straight edge and soapstone or paint marker to draw clean, level lines across both side rails and the floor. Both sides must match exactly—any deviation creates a crooked bed once reassembled.
Pro Tip: Use clamps to secure the straight edge, or have a helper hold it steady. Even a quarter-inch difference between sides ruins symmetry and forces extra grinding later.
Cut the Bed with the Right Tool
Choose a Cutoff Wheel for Clean Results
An angle grinder fitted with a cutoff wheel delivers the cleanest, most controlled cut for thin sheet metal and boxed rails. Avoid reciprocating saws that wander off line, and skip torches unless you have advanced experience—torch cuts warp metal badly.
Gear up with full PPE before cutting. You need gloves, eye protection, and a respirator. Metal dust and fumes are serious health risks during extended cutting sessions.
Follow Marked Lines Slowly
Let the tool do the work rather than forcing it through the metal. Keep the angle consistent to avoid beveled edges that won’t mate flush during reassembly.
Pay special attention near the spare tire crossmember, which sits only half an inch below the bed floor. Cutting too low damages this critical support and creates alignment nightmares.
Warning: If your cut intersects the crossmember directly, expect significant alignment challenges. Plan to bridge gaps with filler plates and add internal tubing reinforcement.
Align Sections Before Any Welding
Dry-Fit Both Pieces First
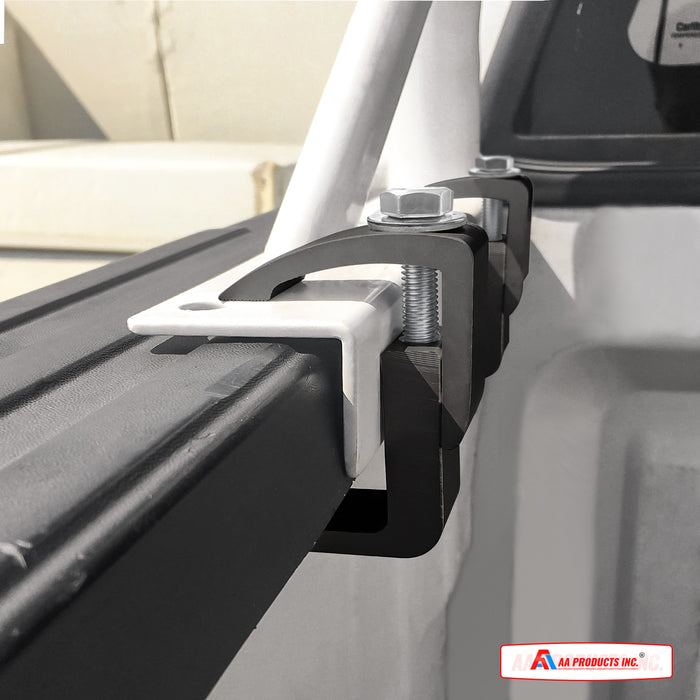
After cutting, place both bed sections back on the frame or sturdy supports to check fit and alignment. This dry-fit reveals gaps, twists, and height mismatches before you commit to welds.
Verify these critical alignment points:
– The bed sits level front to back
– Both side rails remain parallel
– The tailgate opening stays square
Bridge Gaps with Scrap Metal
Cutoff wheels remove material, creating gaps up to an eighth of an inch. Slide a flush scrap steel plate underneath the seam before realigning to close these gaps.
Expert Note: A 1 to 1.5 inch wide strip works best. Position it so it spans the cut evenly under both sections, then clamp everything in place.
Use C-clamps or bar clamps every 6 to 8 inches to maintain alignment during tack welding. Check from multiple angles to catch any twist early.
Reinforce and Weld the Seam Properly
Tack Weld Before Full Welding
Start with tack welds every 2 to 3 inches along the seam. Don’t commit to full welds until you confirm alignment hasn’t shifted from heat distortion.
Check level and squareness again after tacking. If anything moved, grind off the offending tack and re-clamp before continuing.
Complete Welds with Backing Support
Once alignment holds, finish the welds using MIG or stick welding. For maximum strength on a daily-driven truck:
– Weld both top and bottom seams
– Wrap a quarter-inch by 2×4 rectangular steel tube around the underside of the side rails
This creates a boxed, high-strength connection that resists flexing and vibration over rough terrain.
Common Mistake: Skipping underside reinforcement leads to stress cracks within months—especially on trucks that see off-road use or heavy loads.
Seal All Seams and Joints Thoroughly
Grind Welds Down Smooth
After welding completes, grind all seams until flush with surrounding metal. A flap disc creates a smooth transition that ensures proper adhesion for sealers and liners.
Wipe everything clean with acetone to remove grease, oil, and grinding debris before sealing.
Apply Quality Seam Sealer
Fill all joints with Fast and Firm seam sealer or an equivalent product. This step prevents moisture intrusion and eliminates annoying rattles during driving.
Apply generously along inside seams, especially where the floor meets side panels. Let the sealer cure fully according to manufacturer directions before moving forward.
Apply a Protective Bedliner Coating
Spray-On Liner for Long-Term Durability
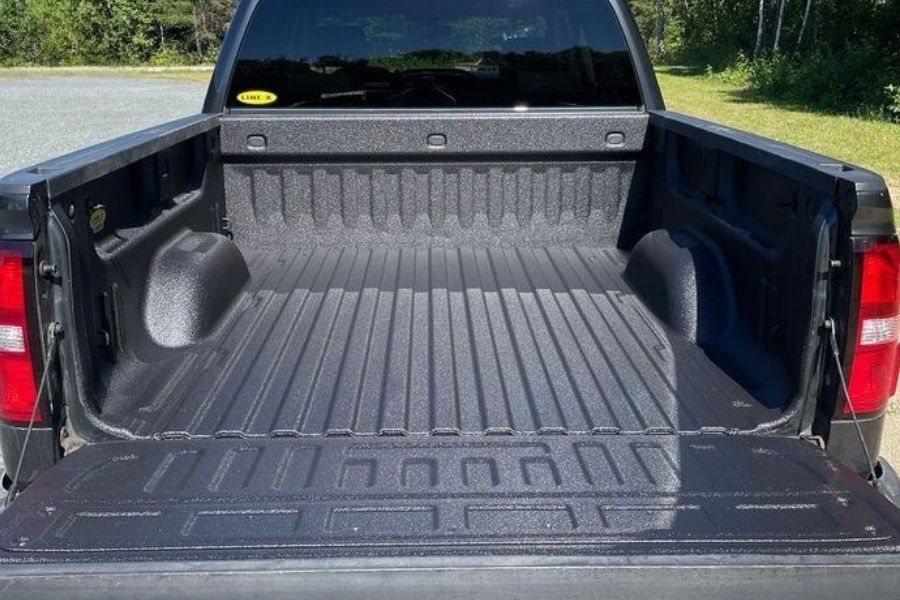
Once sealed, apply a quarter-inch thick Line-X or Rhino Liner spray coating to protect the modified bed. Professional spray-on liners offer several advantages:
– Waterproof the entire floor and seams
– Add serious impact resistance
– Hide minor imperfections in the metalwork
– Provide a non-slip surface for cargo
Time Saver: Mask off wheel wells and the cab before spraying. One professional coat prevents years of rust repairs down the road.
Upgrade the Bumper for Better Fit

Remove the Stock Bumper
After bobbing, the factory bumper likely won’t align with the shortened bed. Remove it carefully—some bolts may be rusted or hidden behind trim pieces.
Value Tip: Sell the original bumper. One builder received $60 from a friend who needed a replacement. That money offsets the cost of custom fabrication.
Fabricate a Custom Bumper
Replace the stock unit with a 2×4 quarter-inch rectangular tube bumper built to match the new bed length. This approach delivers:
– Stronger construction than stamped steel
– Cleaner integration with the bobbed look
– Room for tow points or D-ring shackles
Weld the custom bumper securely to the frame and ensure it sits flush with the bed rails.
Prevent Common Misalignment Issues
Avoid Cutting Through Crossmembers
The spare tire crossmember is a key structural element you want to preserve. Cutting directly through it creates:
– Difficulty aligning sections flush
– Gaps requiring extensive filler plates
– Extra welding and grinding work
Fix: Shift your cut line slightly forward or backward to avoid cutting the crossmember directly. Even an inch of adjustment saves hours of frustration.
Clamp Aggressively Before Welding
Always clamp or brace the bed during dry-fit and tacking. Even slight movement ruins symmetry and forces time-consuming corrections.
Use at least four clamps per side and check alignment from multiple angles before striking the first arc.
Reinforce for Daily Driving Demands

Strengthen High-Stress Areas
Since many bobbed trucks remain daily drivers, reinforce these critical junctions:
– Floor-to-rail joints
– Side rail seams
– Tail section mounting points
Add gussets or internal supports where stress concentrates during hauling or trail use.
Builder Insight: One fabricator ran a full-length 2×4 tube under the outer rails. This boosted rigidity significantly without adding noticeable weight.
Consider Suspension Upgrades
Shortening the bed shifts weight distribution slightly. For off-road or heavy-duty use, consider:
– TrailGears SAS kit with FROR brackets – the most complete solution
– Triangulated 4-link rear suspension – improved articulation though more complex
Both options improve handling post-bob, especially if you’re also lifting the truck.
Maintain Clean Aesthetics Throughout
Hide the Seam Completely
The goal is a seamless appearance with no visible weld lines or gaps. Achieve this by:
– Grinding welds perfectly flush
– Using thick bedliner to cover seams
– Painting or texturing to match the original finish
Pro Tip: View the bed from a distance after each step. What looks small up close can stand out at arm’s length.
Keep Functionality Intact
Despite being shorter, the bed should still carry gear effectively. With smart design, you gain:
– Double carrying capacity per square foot due to better load positioning
– Easier access to a rear-mounted spare
– Improved departure angle for off-roading
Real-World Result: Drivers report easier parking, better rear visibility, and a clean custom silhouette that draws compliments at every meet.
Plan for Time and Workspace Challenges
Work With Limited Space
Many builders don’t have a garage. If you’re working in a spare bay or driveway, take these precautions:
– Label and bag all hardware
– Cover parts when not in use
– Work in stages—cut one day, weld the next
Builder Reality: This project demands significant time, especially during grinding and leveling phases. Patience separates good results from great ones.
Expect Unexpected Challenges
Surprisingly, shortening the bed rack can prove harder than the bed bob itself. Custom fabrication always requires more time than initially anticipated.
Plan extra days for:
– Alignment corrections
– Reinforcement modifications
– Final finishing work
Frequently Asked Questions About Bobbing a Truck Bed
How much should I cut off when bobbing a truck bed?
Most builders remove 6 to 12 inches for a balanced look. Measure from a reference point like the wheel well or spare tire crossmember, and mark both sides identically before cutting.
What tool works best for cutting a truck bed?
An angle grinder with a cutoff wheel delivers the cleanest, most controlled cuts on sheet metal and boxed rails. Avoid reciprocating saws that wander off line, and skip oxy-acetylene torches unless you have advanced metalworking skills.
Do I need to reinforce a bobbed truck bed?
Yes, reinforcement is critical for long-term durability. Wrap a quarter-inch by 2×4 rectangular steel tube around the underside of the side rails, and weld both top and bottom seams. This creates a boxed connection that resists flexing and vibration.
Where should I make the cut on a truck bed?
Cut just behind the wheel well or near the spare tire crossmember. Avoid cutting directly through crossmembers—shift your cut line slightly to preserve these structural supports and simplify alignment.
How do I seal a bobbed truck bed?
Grind all welds smooth, clean with acetone, then fill joints with Fast and Firm seam sealer or equivalent. After curing, apply a quarter-inch spray-on liner like Line-X or Rhino Liner for waterproofing and impact protection.
Can I bob a truck bed without welding experience?
A bed bob requires solid welding skills for structural integrity. If you’re not confident with MIG or stick welding, practice on scrap metal first or hire an experienced welder to handle the critical joints while you do the cutting and finishing.
Key Takeaways for a Successful Truck Bed Bob
A clean bed bob comes down to three fundamentals: precise cuts, solid reinforcement, and thorough sealing. Measure carefully and mark identically on both sides to avoid crooked results. Use a cutoff wheel rather than torches for clean edges that mate flush. Always reinforce with boxed tubing underneath, and never skip the seam sealer before applying bedliner.
The real payoff goes beyond aesthetics. A properly bobbed truck gains better departure angle for off-roading, easier parking in tight spots, and a unique silhouette that stands out from every factory pickup on the road. Grab your tape measure, mark your lines, and start cutting—your truck’s transformation begins with that first straight edge.