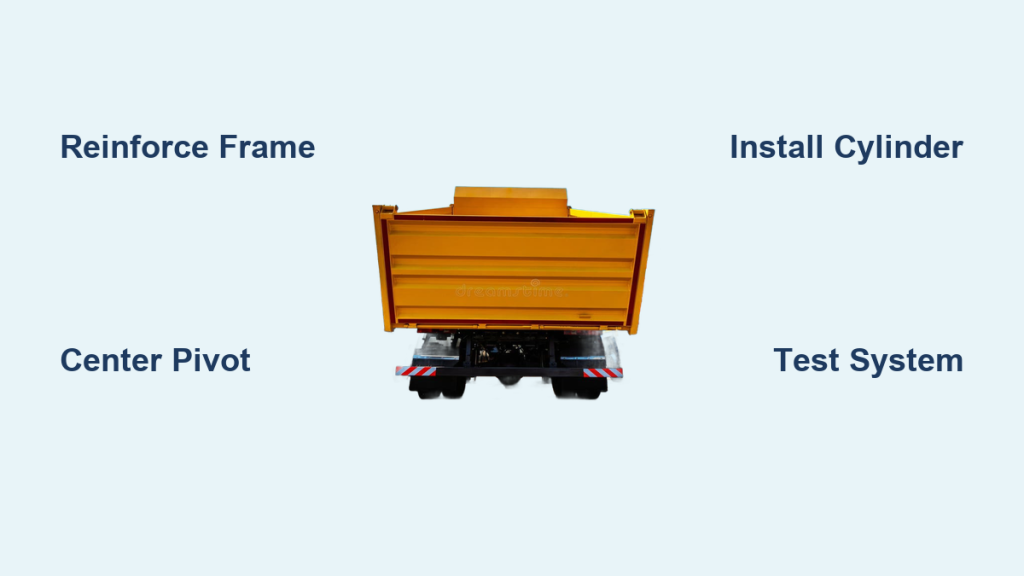
Hauling gravel, dirt, or debris with a pickup truck gets old fast when you have to shovel it out by hand. A dump truck bed solves that problem, but commercial versions cost a fortune. The good news is you can build your own dump truck bed using a Ford F250 bed, a trailer frame, and a hydraulic system. This DIY approach saves money while giving you a customized hauling solution. This guide breaks down the entire build, from frame preparation through hydraulic setup and safety testing.
Prepare the Trailer Frame
Every reliable dump truck bed starts with a rock-solid trailer frame. Skimping here leads to cracks, misalignment, and dangerous failures under load.
Reinforce Frame Joints
Weld 2-inch steel angle brackets at every corner and stress point on the trailer frame. Clean, full-penetration welds prevent flexing when the bed carries heavy material. Grind down any slag for a smooth finish before moving forward.
Level the Frame
Set the frame on a flat concrete surface and check it with a carpenter’s level. Adjust trailer jacks or suspension until the frame sits perfectly flat. An unlevel frame puts uneven stress on the hydraulic cylinder and causes the bed to dump crookedly.
Install Axles and Suspension
Mount trailer axles rated for at least 25% more than your expected payload. Use leaf springs or torsion suspension, securing everything with U-bolts. Tug-test each lug nut before moving on.
Pro Tip: A drop-axle setup lowers bed height, making loading easier and improving overall stability.
Mount the Truck Bed

A Ford F250 bed works great because of its size and steel construction, though any full-size truck bed can be adapted.
Position the Bed Correctly
Center the truck bed on the trailer frame, leaving 6 to 8 inches of overhang at the front for the hydraulic cylinder. Align the tailgate edge with the rear of the frame for smooth dumping.
Secure with Steel Brackets
Cut six ¼-inch steel plates measuring 6″x12″. Weld them under the bed’s side rails, then bolt these plates to the frame using Grade 8 bolts (½” x 3″). Lock washers keep everything tight despite road vibration.
Reinforce High-Stress Zones
Weld vertical triangular gussets where the bed meets the frame, particularly near the pivot point. These supports fight torsional stress during lifting.
Watch for: Bed sagging over time. Prevent it by adding cross supports every 24 inches along the bed’s underside.
Install the Pivot Mechanism

The pivot is what lets the bed tilt up and dump its load. It needs to be strong, centered, and smooth.
Weld Pivot Housings
Weld two steel tube housings (1.5″ diameter, 4″ long) to the trailer frame at the rear. A laser level or straight edge ensures perfect alignment. Misaligned housings cause binding and premature wear.
Insert Pivot Pin and Bushings
Slide a 1″ diameter hardened steel pin through the bed’s rear mounting flange and into both housings. Bronze bushings reduce friction dramatically. Lock both pin ends with cotter pins so nothing slides out under load.
Center the Pivot Point
Measure from each side of the bed to the frame rail to confirm the pivot runs through the bed’s exact centerline. Off-center pivots make the bed lift unevenly and stress the hydraulic cylinder.
Expert Note: Adding grease zerks to the bushings makes long-term maintenance much easier.
Attach the Hydraulic Cylinder
The hydraulic cylinder does the heavy lifting. Proper mounting angle and placement make all the difference in power and smoothness.
Choose the Right Cylinder
Pick a double-acting hydraulic cylinder rated for 12,000 to 15,000 lbs. A 6-inch stroke typically raises the bed to a 45-degree angle. Mount it at a 30 to 45 degree angle when the bed is in the down position.
Mount the Base End
Weld a clevis bracket to the trailer frame, positioned 12 to 18 inches forward of the pivot point. The bracket must face upward to receive the cylinder’s base pin securely.
Connect to the Bed Arm
Fabricate a lifting arm from 2″ steel tubing and weld it to the underside of the bed, 24 to 30 inches back from the front edge. Attach the cylinder’s rod-end clevis to this arm using a 1″ pin and retaining clips.
Avoid: Mounting the cylinder too far forward. This reduces lifting power and puts unnecessary strain on the entire system.
Connect the Hydraulic System

A complete hydraulic circuit controls lifting and lowering safely.
Install Hydraulic Pump
Pick your pump type based on budget and convenience:
– Electric pump: 12V system with remote control for easier operation
– Hand pump: Manual lever, cheaper but slower
Mount the pump on the frame within easy reach of your control station. Rubber-isolated brackets reduce vibration damage over time.
Run Hydraulic Hoses
Use high-pressure hoses rated for at least 3,000 PSI with threaded fittings. Route hoses away from sharp edges and moving parts. Clamp them securely every 12 inches.
Add Control Valve
Install a 3-position spool valve with these functions:
– Forward: Extend cylinder to lift the bed
– Neutral: Hold position at any height
– Reverse: Retract cylinder to lower the bed
Connect hoses from the pump to the valve, then run them to the cylinder ports.
Pro Tip: Adding a pressure relief valve protects the system from dangerous overloading.
Test and Adjust the System
Never load up and hit the road without thorough testing first.
Perform Dry Run
Fill the hydraulic reservoir with AW32 hydraulic fluid. Cycle the pump to extend and retract the cylinder several times. Watch carefully for leaks, binding, or unusual noises.
Check Lifting Path
Confirm the bed rises smoothly without contacting the cab or trailer frame. If contact happens, shorten the lift arm or reposition the cylinder angle.
Test with Gradual Load
Start with 500 lbs of sandbags. Work up to 2,000+ lbs in stages. The bed should lift and lower steadily with no hesitation or drifting.
Warning: Stay clear of the bed’s rear arc during testing. Crushing injuries can happen instantly if something fails.
Ensure Safety and Stability

A homemade dump bed sees daily hard use, so safety features are not optional.
Install Safety Chains
Attach heavy-duty chains from the bed to the frame on both sides. These act as a mechanical backup if the hydraulics ever fail unexpectedly.
Add Bed Lock for Travel
Weld two hook latches near the front of the bed. Engage them with locking pins whenever you’re hauling. This prevents accidental lifting from bumps in the road.
Inspect Key Components Weekly
- Check hydraulic hoses for bulges, cracks, or abrasion
- Verify pivot pin cotter pins are intact
- Look for cracked welds, especially at high-stress mounting points
Critical: Replace worn bushings right away. Even slight play can lead to catastrophic failure under load.
Optimize for Longevity
A few smart upgrades and a simple maintenance routine dramatically extend the life of your build.
Upgrade to Electric Pump
Swap a hand pump for a 12V electric system for faster, easier dumping. A wireless keychain remote adds real convenience on busy job sites.
Add Tailgate Release Mechanism
Install a cable or hydraulic release that pops the tailgate latch before dumping. This prevents material from packing against the tailgate and reduces hinge stress.
Apply Protective Coating
Spray the entire frame and bed underside with rust-inhibiting undercoating. Touch up weld areas with epoxy primer to stop corrosion before it starts.
Pro Tip: Grease pivot pins and bushings every 10 uses to keep motion smooth and prevent wear.
Frequently Asked Questions About Building a Dump Truck Bed
What materials do I need to build a dump truck bed?
You need a Ford F250 truck bed (or equivalent), a trailer frame, a hydraulic cylinder rated for 12,000 to 15,000 lbs, pivot pins, bushings, welding equipment, steel plates, angle iron, a hydraulic pump, hoses, fittings, a control valve, and high-strength bolts. Safety chains and a hitch are also essential for road use.
How much weight can a homemade dump truck bed hold?
Weight capacity depends on your trailer frame, axle rating, and hydraulic cylinder strength. With a 12,000 to 15,000 lb cylinder and properly rated axles, most DIY builds handle 2,000 to 5,000 lbs comfortably. Never exceed the lowest-rated component in your system.
Can I use a hand pump instead of an electric pump?
Yes. Hand pumps cost less and work reliably, though they require more physical effort and dump more slowly. Electric 12V pumps with remote control offer faster, easier operation and are worth the upgrade if you dump frequently.
How do I prevent my dump bed from rusting?
Apply rust-inhibiting undercoating to the frame and bed underside. Touch up weld areas with epoxy primer since welds corrode first. Wash the bed after hauling corrosive materials like fertilizer or salt, and inspect for paint damage every few months.
Is building a dump truck bed legal on public roads?
Laws vary by state, but most require DOT-compliant lighting (tail, brake, turn signals), safety chains, and proper registration. Check your local DMV requirements before taking your build on the highway.
Where can I find DIY dump trailer plans?
Search online for “DIY dump trailer plans PDF.” Look for templates with detailed dimensions, complete material lists, and assembly diagrams. Plans that include electrical wiring schematics for electric pumps save significant guesswork.
Final Thoughts on Building Your Own Dump Truck Bed
Building a dump truck bed is a challenging project that pays off for years. The three keys to success are a reinforced trailer frame, a perfectly centered pivot mechanism, and a properly sized hydraulic system with safety backups. Take your time with alignment and welding, since mistakes here are hard to fix later. Always test with gradual loads before full operation, and inspect critical components weekly. With quality materials and regular maintenance, your homemade dump bed can rival or outlast commercial models at a fraction of the cost. Start gathering your materials and plan your build, your back will thank you the next time you need to unload a heavy load.