If you’re tired of digging through loose gear every time you need a tool, cookware, or spare part on your overlanding trip, it’s time to build truck bed drawers. These custom storage solutions transform your truck bed into an organized, accessible space, perfect for camping, road trips, or off-grid adventures. Whether you drive a Tacoma, F-150, or Jeep, building your own truck bed drawers is a budget-friendly way to maximize utility. Using common materials and basic tools, you can complete this project in a weekend. This guide walks you through every step, from measuring your bed to sealing the final piece, so you can create rugged, full-extension drawers that stand up to rough terrain and rainy nights.
Measure Your Truck Bed

Determine Interior Dimensions
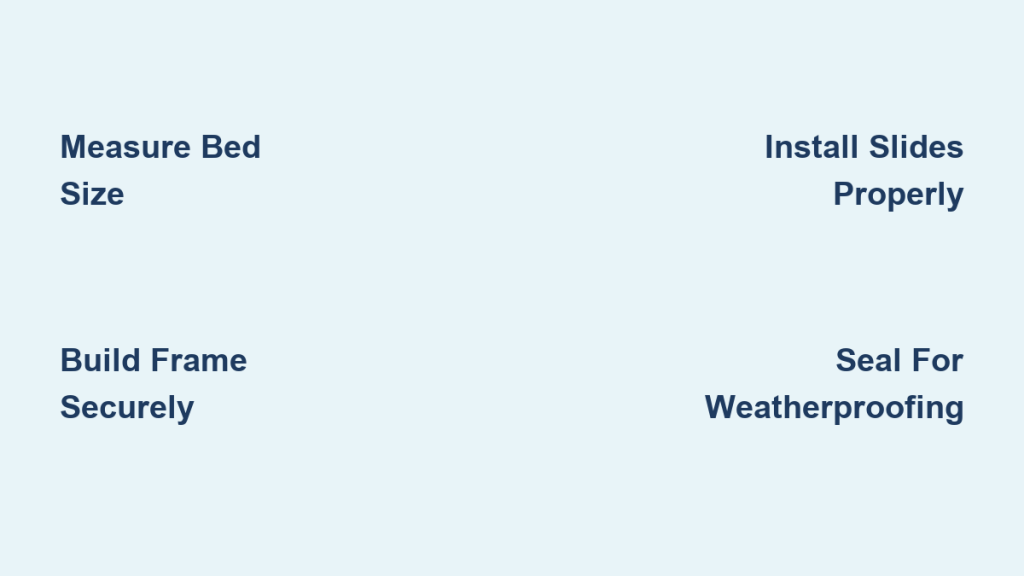
Start by measuring the interior length and width of your truck bed. Use a tape measure and record the shortest distance front-to-back and side-to-side. Don’t assume symmetry, as many truck beds taper slightly. These numbers set your drawer frame size. Subtract 1/2 inch from each dimension to ensure smooth sliding and account for hardware clearance.
Account for Wheel Wells and Obstructions
Check for wheel wells, tie-down rails, or spare tire mounts that may limit drawer depth or width. If your design spans the entire bed, plan to notch or shape the frame around obstructions. For dual drawers, split the width evenly (or unevenly, based on gear needs) with a 2–3 inch center divider.
Set Drawer Height Based on Clearance
Decide how tall you want your drawers. Most builds range from 6 to 10 inches high. Measure the floor-to-bed rail height and subtract the thickness of the plywood (3/4″) and slide hardware (typically 1/2″). Ensure at least 1–2 inches of clearance under the drawer for full extension and uneven ground.
Build the Drawer Frame
Cut 2×4 Frame Pieces to Size
Using your adjusted measurements, cut four 2×4 lumber pieces: two for the front and back, and two for the sides. A circular saw or miter saw works well for straight cuts. Double-check each piece for squareness and length before assembly.
Assemble with Screws and Glue
Lay the pieces on a flat surface in a rectangle. Apply wood glue to each joint, then screw them together using 3-inch wood screws. Drill pilot holes to prevent splitting. Use a speed square or tape measure to confirm corners are 90 degrees. Reinforce each corner with an extra screw at an angle for rigidity.
Reinforce for Heavy Loads
Since these drawers may carry coolers, tools, or camping stoves, reinforce long spans with a center support brace, a 2×4 running front-to-back or side-to-side under the bottom. This prevents sagging and distributes weight evenly across the slides.
Cut and Attach Plywood Sides
Shape Side Panels from 3/4″ Plywood
Cut two identical pieces of ¾” plywood to match the height and length of your frame. These form the left and right sides of the drawer. Use a straightedge and circular saw for clean edges. Sand all cut edges smooth to avoid snags.
Secure Panels to the Frame
Position each panel flush with the top and ends of the 2×4 frame. Attach using 1 1/2-inch wood screws every 6–8 inches. Apply wood glue along the 2×4 before screwing for added strength. Ensure panels are vertical and even before driving all screws.
Add Front and Back Plywood (Optional)
For extra rigidity, cut and attach plywood to the front and back of the frame. Leave space for the drawer front (added later). This box-style build resists twisting and handles heavy, uneven loads better.
Install the Drawer Bottom
Cut Bottom Panel to Fit Interior
Measure the inside of the frame and cut a ¾” plywood piece to match. It should fit snugly within the 2x4s without overhang. This base supports the full weight of your gear and transfers load to the slides.
Fasten with Screws and Glue
Apply wood glue to the top edges of the 2×4 frame. Place the bottom panel on top and secure it through the frame sides using 1 1/2-inch screws. Space screws every 6 inches. Let the glue cure for at least an hour before handling.
Seal Joints Against Moisture
Water can seep through seams, especially in rainy conditions. Run a bead of waterproof wood glue or silicone sealant along all joints between the bottom and frame before final assembly. This adds durability and prevents rot over time.
Mount Heavy-Duty Drawer Slides
Choose Full-Extension Slides (100+ lb Rating)
Select ball-bearing, full-extension drawer slides rated for at least 100 pounds per pair. Avoid cheap cabinet slides, as they won’t handle off-road vibration or heavy loads. Look for zinc-coated or stainless steel models for rust resistance.
Attach Fixed Slide to Truck Bed
Position the drawer in the bed and check for clearance. Mark where the fixed (stationary) part of the slide aligns with the truck bed frame or wheel well liner. Use metal-to-metal bolts or self-tapping screws to secure this part firmly. Double-check level alignment with a bubble level.
Mount Moving Slide to Drawer Frame
Attach the moving (drawer-mounted) part of the slide to the bottom front edge of the 2×4 frame. Use all provided screw holes for stability. Reconnect both slide halves and test extension; it should glide smoothly without binding.
Test and Adjust Alignment
Open and close the drawer several times. If it sticks or tilts, loosen the screws slightly and realign. Even a 1/8-inch misalignment can cause friction. Ensure both sides move in sync before final tightening.
Build and Attach Drawer Front
Cut Front Panel to Fit Opening
Measure the drawer opening in your truck bed. Cut a ¾” plywood piece 1/4 inch smaller than the opening (top-to-bottom and side-to-side) to allow clearance. This prevents rubbing when the truck flexes on rough roads.
Sand and Round Edges
Smooth all edges with 120-grit sandpaper. Round the top corners slightly for comfort and aesthetics. Wipe away dust before finishing.
Secure with Countersunk Screws
Attach the front panel from the inside of the drawer using 1 1/2-inch screws. Counterbore the holes slightly so screws sit flush. This allows easy removal for maintenance or upgrades later.
Add a Hinged Top Lid (Optional)

Cut Lid from 3/4″ Plywood
Measure the top opening of the drawer and cut a plywood lid to match. Leave a 1/8-inch gap on all sides for expansion and closing ease.
Install Heavy-Duty Hinges
Use 3-inch exterior-grade hinges (at least two, three for wider drawers). Attach one side to the drawer’s top rear edge and the other to the lid. Position so the lid lifts upward and stays open when needed.
Add Lid Support or Prop
Install a gas strut, chain, or wooden prop rod to hold the lid open. This keeps it from slamming shut in wind or while loading gear. A simple hook-and-eye latch can secure it when closed.
Finish and Weatherproof
Sand All Surfaces Smooth
Go over the entire drawer with 120- and then 220-grit sandpaper. Focus on corners, edges, and areas you’ll touch often. Remove all dust with a tack cloth or damp rag.
Apply Exterior-Grade Sealant
Use a marine-grade varnish, exterior paint, or waterproof sealant on all wood surfaces. Pay extra attention to end grains and joints, as they absorb moisture fastest. Apply 2–3 coats, sanding lightly between layers.
Protect Bottom and Slides
Wrap the bottom edge with aluminum tape or attach a thin metal strip to prevent abrasion when sliding in and out. Avoid getting sealant on drawer slides; mask them off before finishing.
Load Test and Optimize
Gradually Add Weight
Start with light items like sleeping bags, then add heavier gear like a cooler or toolbox. Open and close after each addition to check for strain or wobble.
Check Slide Performance Off-Road
Take a short drive on bumpy roads to test stability. If the drawer rattles or binds, inspect mounting points and re-tighten screws. Consider adding rubber bumpers at the front to absorb shock.
Install Locking Mechanism (Optional)
Add a simple cam lock or sliding bolt to secure the drawer when driving. This prevents accidental opening and deters theft. For dual drawers, consider independent locks.
Customize for Your Gear
Add Interior Dividers
Cut small plywood partitions to create sections for tools, spices, first-aid kits, or batteries. Attach with glue and screws, and make them removable for flexibility.
Install Lighting
Stick in battery-powered LED strips along the inside edge. Use motion-activated lights for hands-free access at night. Wire to a small solar charger for long trips.
Mount Tie-Down Points
Screw in D-rings or cleats inside the drawer for securing loose items. Ideal for holding down a gas can, shovel, or firewood.
Maintain for Longevity
Inspect Hardware Monthly
Check screws, bolts, and slides every few weeks. Off-road vibration loosens fasteners over time. Carry a hex key or screwdriver in your truck for quick fixes.
Re-Seal Annually
Reapply sealant or paint once a year, especially if you camp in wet climates. Focus on worn or chipped areas to stop moisture penetration early.
Clean After Wet Trips
After exposure to rain or mud, wipe down the drawer and let it dry fully with the lid open. Store with a moisture-absorbing pack to prevent mold.
Frequently Asked Questions About Truck Bed Drawers
What tools do I need to build truck bed drawers?
You need a tape measure, circular saw or miter saw, drill, speed square, and sandpaper. Basic hand tools like a screwdriver and clamps are also helpful for assembly.
How long does it take to build truck bed drawers?
Most DIY truck bed drawer builds take one to two days, depending on your experience and whether you add custom features like dividers or lighting.
Can truck bed drawers handle heavy loads like a cooler?
Yes, provided you use drawer slides rated for at least 100 pounds per pair and reinforce the frame with a center brace. This ensures the drawers handle coolers, tools, and other heavy gear without sagging.
Do I need to seal the wood if I use plywood?
Sealing is strongly recommended for any truck bed drawer build. Marine-grade varnish or exterior paint protects plywood from moisture, road spray, and UV damage, especially on overlanding trips.
Will truck bed drawers fit any truck model?
The design adapts to most truck beds, including Tacoma, F-150, and Jeep Gladiator. You simply adjust the frame dimensions to fit your specific interior width and length, accounting for wheel wells.
Can I add a lock to keep my drawers secure?
Yes, a simple cam lock or sliding bolt works well for truck bed drawers. For dual drawers, install independent locks so you can secure each side separately when parked or driving rough roads.
Key Takeaways for Building Truck Bed Drawers
Building truck bed drawers is a smart upgrade that turns clutter into order. With this guide, you’ve learned how to build strong, weather-resistant drawers using basic tools and materials. From precise measuring to sealing and customization, each step ensures your drawers last for years of adventures. Now that your gear has a home, hit the trail with confidence; your tools, food, and supplies are right where you left them.