
If your truck bed faces daily exposure to rain, dust, and harsh sunlight, a Tyger tonneau cover delivers reliable protection while improving fuel efficiency through reduced drag. However, proper installation determines whether your cover performs smoothly or becomes a frustrating source of flapping, leaks, or security concerns. This guide provides step-by-step instructions for both T1 roll-up and T3 tri-fold models, helping you achieve a weather-tight seal in under an hour with basic tools.
Whether you own a Ford F-150, Ram, or Chevrolet Silverado, the following procedures apply to most Tyger soft cover installations. You will learn how to verify compatibility, position side rails with precision, secure clamps without drilling, adjust tension for a snug fit, and complete safety checks before hitting the road.
Confirm Compatibility and Inspect Components
Match Your Cover to Your Truck Bed
Before unpacking your Tyger tonneau cover, verify that the model matches your truck’s bed length and model year. Tyger covers are designed for specific bed sizes, and using an incorrect size leads to misalignment, latch failure, and wind lift at highway speeds.
Check these specifications:
- Short bed (5.5 feet): Requires 4 clamps, typically fits compact truck beds
- Regular bed (6.5 feet): Needs 6 clamps, common for full-size trucks like Ford F-150 and Chevrolet Silverado
- Long bed (8 feet): Uses 8 clamps, found on extended cab models
The T3 tri-fold model is explicitly designed for a 2019 Ford F-150 with a 6.5-foot bed, while T1 roll-up variants accommodate various trucks including Ram and Silverado platforms.
Unbox and Verify All Parts
Lay out every component from the box before beginning installation. For T1 roll-up covers, you should find vinyl cover material with integrated cross-bars, two side rails, clamps (quantity depends on bed length), tension plates, and an installation wrench.
T3 tri-fold models ship with a pre-assembled tri-fold cover, six integrated clamps (two front, two safety, two rear), two safety straps, a weather-seal strip, and one Phillips head screw for clamp adjustment.
Inspect each part for visible damage. Torn vinyl, bent rails, or cracked clamps compromise the installation. Contact Tyger Auto support immediately if any component is damaged or missing.
Prepare Your Truck Bed Surface
Clean the Bed Thoroughly
Wipe down the entire truck bed with a damp cloth before installation. Remove all dirt, leaves, ice, and debris that could interfere with clamp sealing and create water pooling points.
A clean metal bed rail ensures maximum grip and prevents moisture from being trapped under misaligned seals. The surface must be dry before proceeding.
Account for Bed Liners
If your truck has an over-the-bed liner, you must expose the bare metal lip beneath it for proper clamp attachment. Use a trim tool to cut small access holes in the liner at clamp locations.
Never attempt to clamp over plastic or composite liner material. This results in weak attachment that can fail at speed, creating a serious safety hazard.
Choose Ideal Weather Conditions
Schedule your installation when temperatures range between 50 and 80 degrees Fahrenheit (10 to 27 degrees Celsius). Cold vinyl becomes stiff and difficult to tension properly, while hot conditions may cause overstretching.
Avoid windy or rainy days during installation. Wind causes misalignment while working, and moisture trapped under the cover during installation leads to mold and seal degradation.
Position Side Rails for Accurate Alignment

Align Rails Flush with Bed Edges
Place each side rail along the outer edge of your truck bed. The inner edge of the rail must sit flush with the inner edge of the bed rail, a critical requirement for proper latch engagement.
Use a tape measure to confirm equal distance from the front of each rail to the cab. Verify that the gap from the rear of each rail to the tailgate is identical on both sides. Even a 1/8-inch difference throws off the entire system and causes latching problems.
Secure with Loose Clamps Initially
Attach clamps loosely at this stage, just enough to hold rails in place without shifting. This allows fine-tuning before final tightening.
Position clamps at both ends and middle points along the rail, adjusting spacing based on your bed length. Taking time here prevents the most common installation error: misaligned rails that cause latching failure.
Install T1 Roll-Up Cover Step by Step
Deploy and Seat the Cover
Unroll the T1 cover from cab to tailgate, letting the front edge rest against the bulkhead. Lower the cross-bars onto the side rails, ensuring they sit flat and fully supported.
Manually arch the cross-bar ends upward slightly to promote water runoff and prevent pooling. This small adjustment significantly improves cover longevity and drainage performance.
Engage Velcro and Seal Edges
Press the cover’s side flaps firmly against the Velcro strips on the rails, starting at the front and working backward. Listen for a solid rip sound confirming full adhesion.
Check carefully for gaps or bubbling across the entire seal. Re-seat any loose sections before proceeding to the next step.
Adjust Tension for Proper Fit
Locate the tension plates at the outer end of each side rail near the tailgate. Use the provided wrench to adjust in 1/8-inch increments.
Turn the tension plate toward the tailgate to increase tension and tighten the vinyl. Turn away from the tailgate to decrease tension and loosen the vinyl.
Make identical adjustments on both sides. Over-tightening warps rails, while insufficient tension causes annoying flapping on the highway.
Mount T3 Tri-Fold Cover Efficiently
Position Cover Against the Cab
Set the pre-assembled T3 cover flush against the truck cab at the front of the bed. Unbuckle the front safety strap and unfold all three panels toward the tailgate.
Ensure the cover sits centered with equal overhang on both sides. No tools are needed for this visual alignment step.
Lock Front Clamps First
Fold the first panel up toward the cab. Pull down the front clamp and hook its job portion over the metal bed-rail lip.
Turn the clamp knob until the Q seal compresses snugly against the rail. No light should pass through the seal when properly compressed.
If the seal does not compress evenly, loosen the Phillips head screw on top of the clamp, slide it horizontally to one of three adjustment slots, then retighten the screw after repositioning.
Attach Front Safety Clamps
Extend the cover fully toward the tailgate. Pull down the two front safety clamps located just ahead of the main front clamp.
Hook them securely onto the bed rail. These clamps prevent front lift during highway driving and provide essential redundancy.
Secure Rear Clamps and Close Tailgate
Pull down the two rear clamps at the back edge of the cover. Hook them onto the bed rail near the tailgate.
Close the tailgate. It should press against the rear of the cover, completing the seal and engaging the locking mechanism.
Configure Clamps for Maximum Security
Match Clamp Count to Bed Length
Use this reference to ensure proper clamp quantity:
- Short bed (5.5 feet): 4 clamps
- Regular bed (6.5 feet): 6 clamps
- Long bed (8 feet): 8 clamps
More clamps provide better wind resistance and load distribution across the side rails.
Clamp Only to Exposed Metal
Clamps must attach directly to bare truck bed metal, never to plastic, rubber, or liner material. If your truck has an over-the-bed liner, carefully cut X-shaped slits to expose the metal lip beneath.
Failing to secure clamps to metal results in weak attachment capable of detaching at highway speeds.
Adjust T3 Clamp Position as Needed
The T3 front clamps offer horizontal adjustment. Use the Phillips screw to unlock the clamp, slide it to the optimal position for even seal compression, then relock in place.
Test closure after adjustment. If the cover binds or gaps, shift the clamp by one slot and retry.
Fine-Tune Rail Alignment Before Final Tightening
Verify Symmetry and Parallelism
With clamps still loose, double-check that inner rail edges remain flush with bed rails. Confirm rear rail ends are equidistant from the tailgate.
Ensure rails run perfectly parallel without twisting. Use a string line or straight edge if visual confirmation is difficult.
Follow Proper Tightening Sequence
Once alignment is confirmed, tighten clamps in the correct sequence to prevent warping. Tighten front clamps first, then middle clamps, and finish with rear clamps.
This sequence maintains even tension distribution across the entire rail system.
Optimize Tension Control on T1 Models
Balance Tension Side to Side
Adjust both tension plates equally. Asymmetric tension pulls the cover sideways, causing uneven wear and poor sealing across the entire system.
Use a ruler to measure how far each plate extends past the rail end. Match measurements within 1/16 inch for consistent tension.
Use Tension to Aid Latching
If the rear latch struggles to engage, slightly loosen the tension to reduce binding resistance. Close the cover completely, then re-tighten tension afterward.
Re-check tension after extreme temperature swings. Vinyl contracts in cold weather and expands in heat, requiring seasonal adjustments.
Achieve Reliable Latch Closure
Ensure Proper Latch Gap
Measure the space between the locking clip and side rail. This gap must be 1/16 inch (1.6 millimeters) or less for reliable catch and security.
If latching fails, move the rail outward slightly to increase engagement. If the gap remains too large, shift the rail inward to reduce the distance.
Make micro-adjustments and test repeatedly until latching functions reliably.
Close the T1 Cover Correctly
Roll the cover down evenly from front to back. Press the sides firmly to engage all Velcro segments completely.
Push the rear cross-bar down until it clicks into place. Pull the release cable to confirm the cover opens properly when needed.
Prevent Noise and Water Leaks
Install Weather-Seal Strip When Needed
If your front bed rail or tailgate sits lower than the side rails, attach the included weather-seal strip.
This strip prevents wind-induced flapping, rain seepage, and annoying road noise. Adhere or clip it into place according to manufacturer instructions, typically at front or rear corners.
Inspect Seal Compression Regularly
Check all Q seals on T3 clamps for full contact with the bed rail. Replace seals that show cracks, hardening, or deformation.
Clean seals monthly with mild soap and water to maintain flexibility and prevent premature aging.
Operate the Cover Safely
Open and Close Smoothly
For T1 roll-up covers, unlatch the release cable and roll forward evenly. Store the rolled section against the cab.
For T3 tri-fold covers, open the tailgate first. Pull up rear clamp handles and fold panels forward one at a time.
Never force movement. Clear snow or debris from rails and cover surface before operation.
Access Partial Bed When Needed
For quick access to tools in the bed, use partial access mode. Open the tailgate, release rear clamps, and fold the cover forward once. Re-attach rear clamps with the job portion facing downward to hold the folded position securely.
Follow Driving Safety Rules
Secure All Clamps Every Time
All clamps must be engaged whenever the vehicle is in motion, whether the cover is fully closed, folded to the cab, or in partial access mode.
Even one loose clamp can initiate catastrophic failure at highway speeds. Check clamp security before every drive.
Buckle Safety Straps Without Exception
Attach and tighten both front and rear safety straps every time you drive. These straps prevent wind lift and stabilize the entire cover system.
Inspect straps monthly for UV cracking, fraying, or loose buckles. Replace worn straps immediately.
Maintain Your Cover for Long-Term Performance
Perform Monthly Maintenance Checks
Tighten all clamps to maintain secure attachment. Inspect seals for wear and damage. Verify tension balance on T1 models. Lubricate latches with silicone spray.
Addressing small issues early prevents costly repairs and premature replacement.
Make Seasonal Adjustments
After winter, re-tension vinyl (cold shrinks material), clear ice from rails, and dry the cover completely before rolling.
After summer, check for UV damage and reapply vinyl protectant. Inspect for sagging or structural degradation.
Clean and Store Properly
Wash the cover with mild soap and water. Never use petroleum-based cleaners that degrade vinyl material.
If removing the cover for storage, ensure it is completely dry first. Store in a cool, shaded area. Avoid folding at sharp angles that create permanent creases.
Register your cover with Tyger Auto for lifetime customer support and warranty coverage.
Key Takeaways for Installing Your Tyger Tonneau Cover
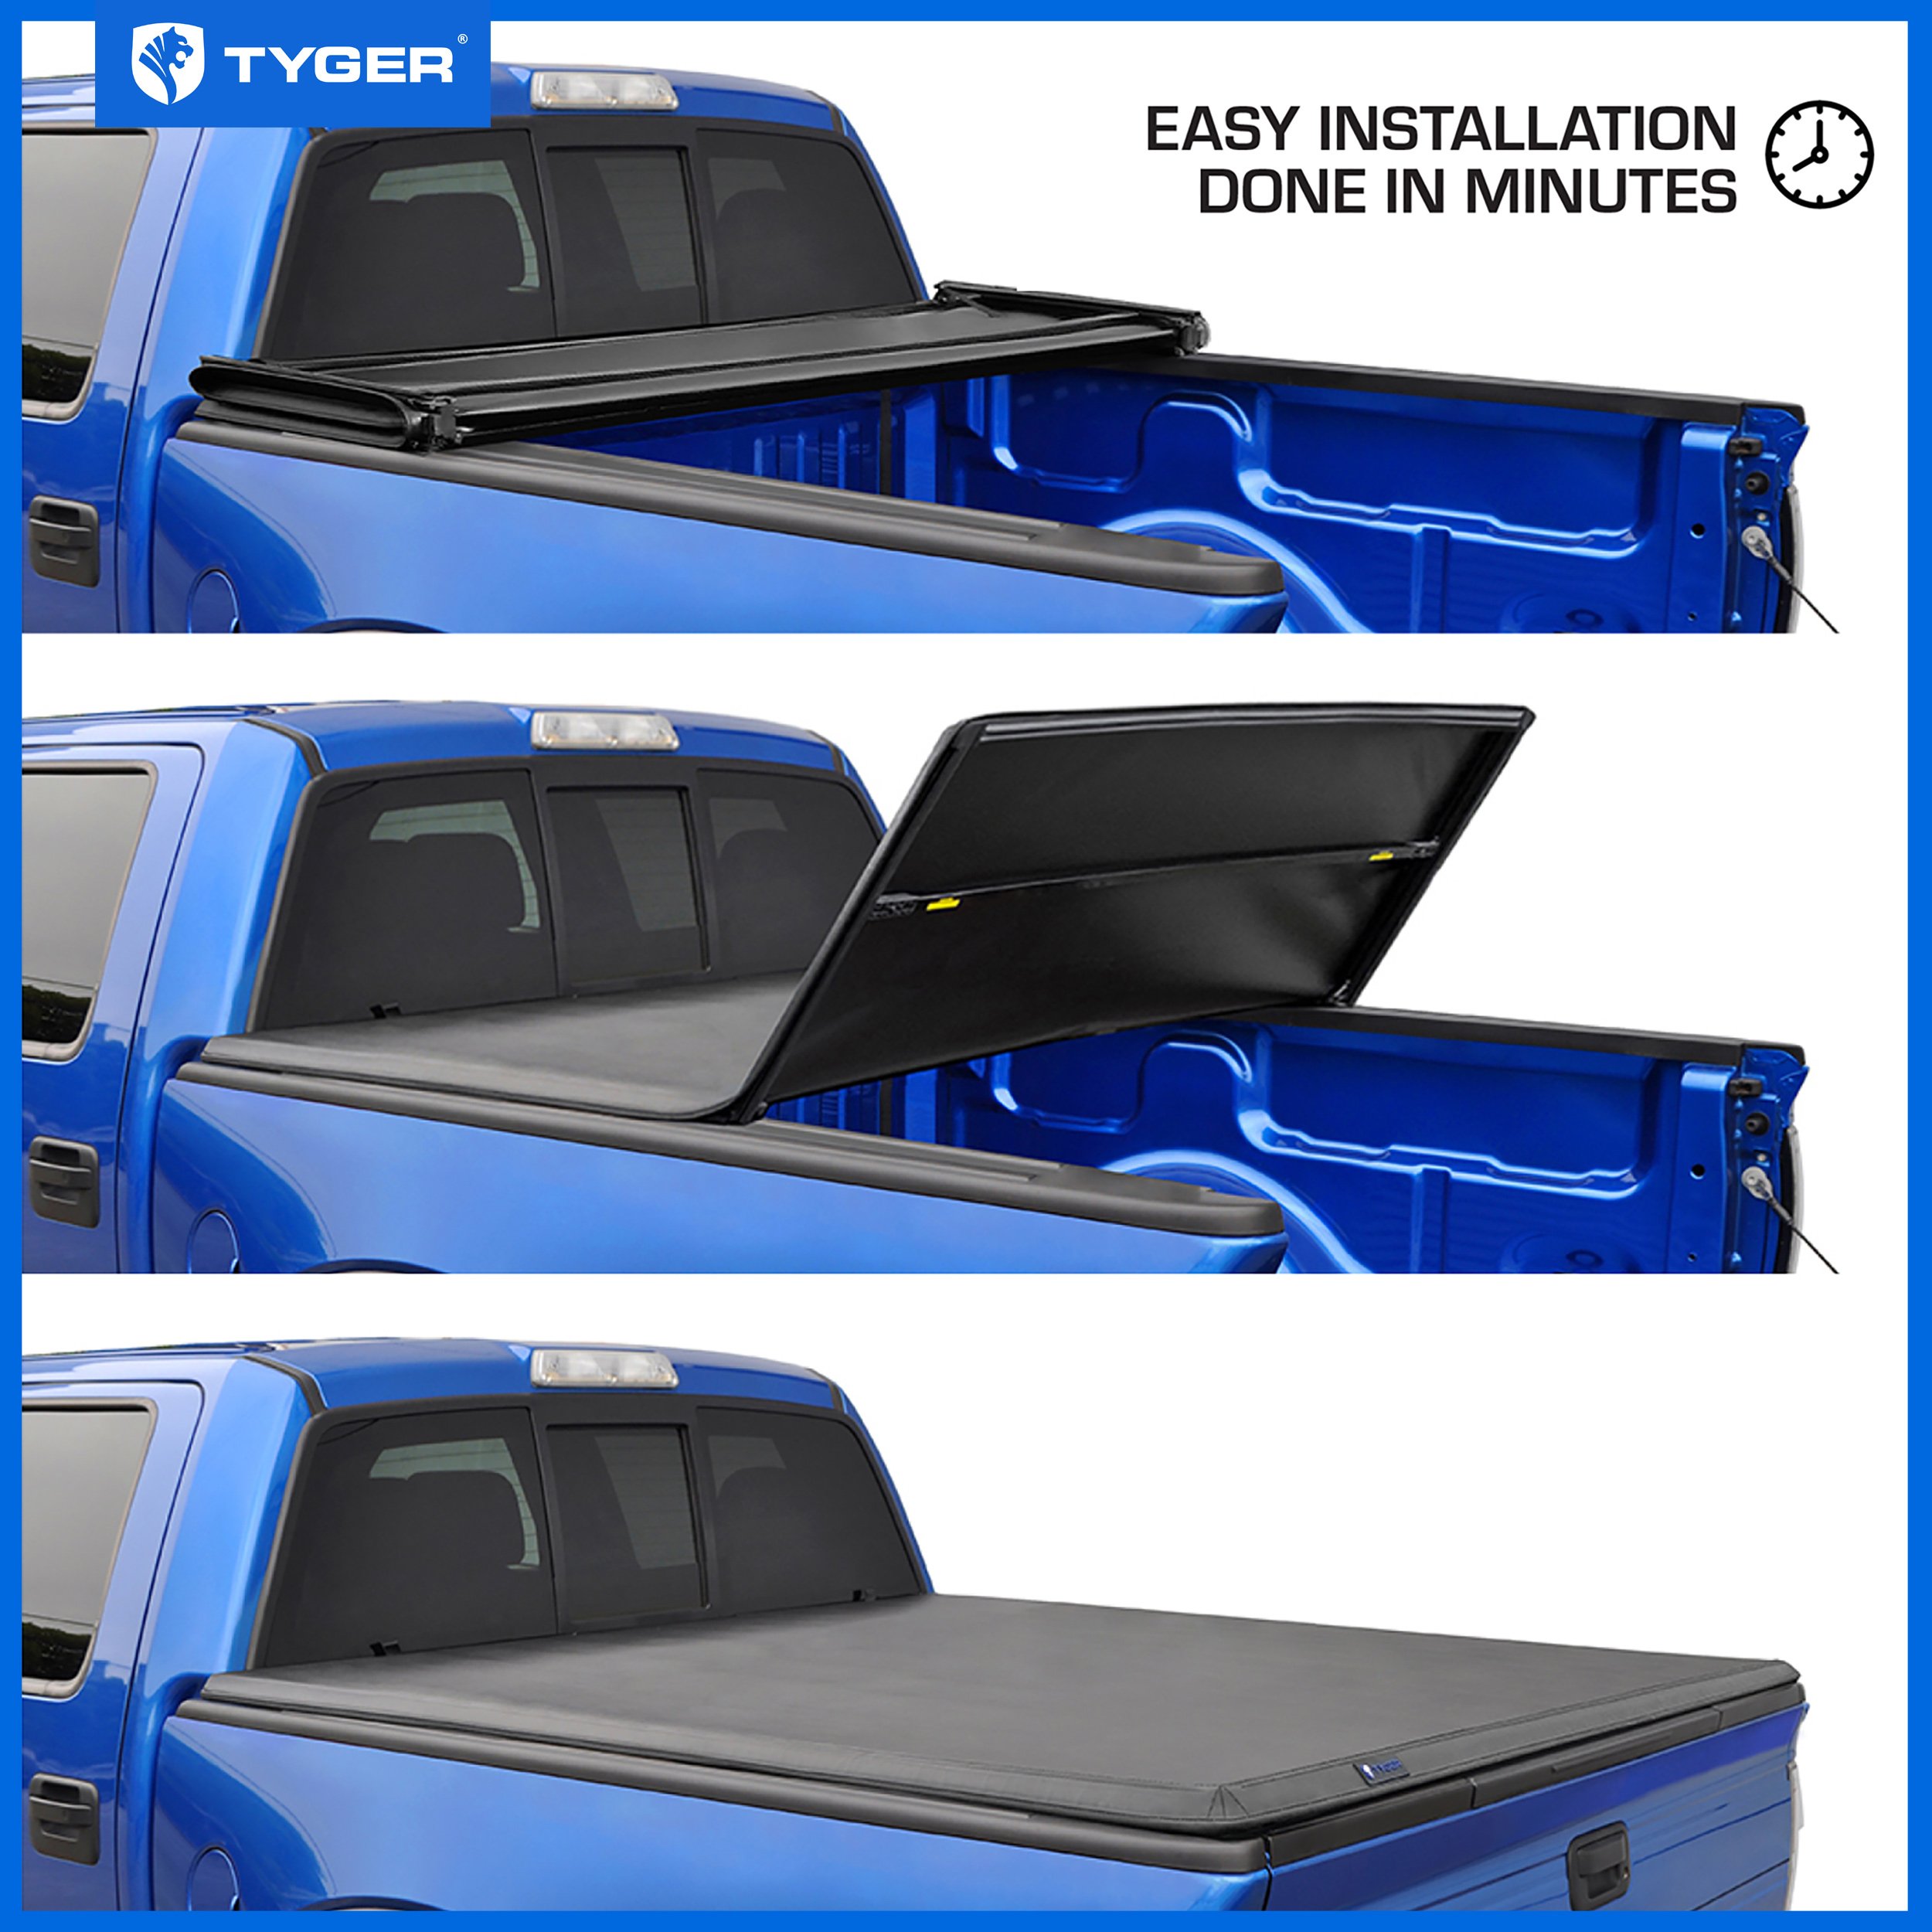
Successful Tyger tonneau cover installation hinges on three critical factors: verifying compatibility between your truck bed and cover model, achieving precise side rail alignment before final tightening, and securing all clamps to bare metal rather than bed liner material. Taking time to properly align rails prevents the most common installation failures, including latch malfunction and wind lift at highway speeds. Remember that tension adjustments on T1 models must be balanced side-to-side, while T3 users should utilize the three-position clamp adjustment slots for optimal seal compression. Finally, never skip the safety straps—these simple components prevent catastrophic cover detachment while driving.
With correct installation and routine maintenance, your Tyger tonneau cover will deliver years of quiet, weather-tight performance that protects your truck bed and improves fuel efficiency.
Frequently Asked Questions About Installing Tyger Tonneau Covers
How long does it take to install a Tyger tonneau cover?
Most Tyger tonneau cover installations take 30 to 60 minutes with basic hand tools. T3 tri-fold models install faster because they come pre-assembled, while T1 roll-up covers require slightly more time for rail positioning and tension adjustment.
Do I need to drill holes to install my Tyger cover?
No, Tyger tonneau covers use a no-drill clamp system that attaches directly to your truck’s bed rails. If your truck has a bed liner, you may need to cut small access holes to expose the metal lip beneath for proper clamp attachment.
Can I install a Tyger cover in cold weather?
Installation is not recommended when temperatures fall below 50 degrees Fahrenheit. Cold vinyl becomes stiff and difficult to tension properly, which leads to poor sealing and premature wear. Wait for warmer weather or store the cover indoors before installation.
How do I know if my side rails are properly aligned?
The inner edge of each side rail must sit flush with the inner edge of your truck bed rail. Measure from the front of each rail to the cab and from the rear of each rail to the tailgate. Both measurements must be identical on left and right sides.
Why does my cover flap at highway speeds?
Flapping indicates insufficient tension (T1 models) or loose clamps. Check that all clamps are securely tightened to bare metal, verify tension plates are properly adjusted, and ensure the Velcro seal is fully engaged along the entire rail length.
Can I drive with the cover partially folded?
Yes, but only if all clamps remain engaged and safety straps are buckled. The T3 tri-fold model supports partial bed access mode where the cover folds forward once and rear clamps secure the folded position. Never drive with the cover fully open or unsecured.


