
If your truck bed is exposed to rain, dust, or prying eyes, installing an UnderCover Flex tonneau cover delivers instant upgrades in security, aerodynamics, and weather protection. This hard-folding cover snaps securely over your bed using a clamp-on rail system that requires no drilling in most cases. Whether you drive a Ford F-150, Chevrolet Silverado, or 2017 Raptor, the installation process follows a consistent sequence that takes about 60 minutes for most DIYers.
In this guide, you will learn every step from rail alignment and clamp positioning to seal application and final latch testing. You will also get torque values, tool lists, and pro tips that ensure a flush, rattle-free fit. By the end, you will know exactly how to install your UnderCover Flex, UltraFlex, or ArmorFlex model with confidence and precision.
Mount Side Rails Correctly for a Gap-Free Fit
Installing the side rails properly is the foundation of a secure, gap-free tonneau cover fit. Misaligned rails lead to latching problems, water leaks, and uneven panel folding. The driver and passenger rails are not interchangeable, so pay close attention to side-specific orientation during this critical phase.
Position Rails with Drain Spouts Facing Forward
Place each rail along the top of your truck bed rails with the drain spout facing forward toward the cab. On models like the 2017 Raptor or 2024 F-150, slide the rail forward until the spout meets the bulkhead. The top edge of the rail should sit 1/8 inch above the bed rail to allow proper seal compression when closed.
Use three clamps per side positioned at front, center, and rear locations. Begin by securing the middle clamp first to stabilize the rail. If your truck has rail spacers, align the center clamp with them. If no spacers exist, position the clamp slightly forward or back to avoid interference with bed accessories.
Install Bulkhead Seal to Prevent Water Intrusion
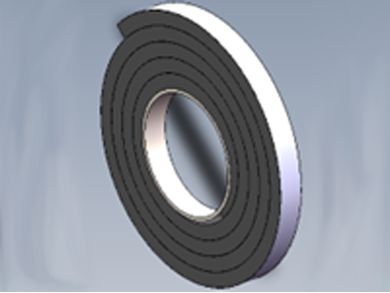
The bulkhead seal prevents water, snow, and debris from entering the cab area. Proper installation ensures a tight closure between the cover and truck body. This step is especially critical on trucks with step-down bulkheads like the 2024 F-150.
Clean Surface and Apply Seal Correctly
Clean the bulkhead surface with isopropyl alcohol and a lint-free cloth to remove wax, oil, or dust. Peel the adhesive backing 2 to 3 inches at a time and press the foam strip firmly against the bulkhead. Work from one side to the other to avoid air bubbles or wrinkles. Once applied, trim excess seal material with scissors or a utility knife.
For trucks with drop-in bed liners like Husky Premium, you may need to attach the seal to the underside of the tonneau cover instead, as the liner blocks direct adhesion. For over-the-rail bed liners, install the seal on top of the liner for proper weather protection.
Route Drain Tubes for Proper Water Exit

Water that enters the rail system must exit cleanly to prevent pooling in your truck bed. The UnderCover Flex includes a front-facing drain spout and tubes to channel water away from the bed. Proper routing prevents leaks and moisture damage.
Choose the Best Drain Route for Your Setup
Cut the included drain tube in half using one half per side. The preferred method routes the tube through a small factory hole in the opposite bed wall for a clean installation. Slide it over the drain spout and ensure a downward slope for gravity drainage.
For trucks with drop-in bed liners, remove the drain cup assembly and run the tube behind the liner before reattaching. Avoid kinks or sharp bends in the tube. If no factory hole exists, drill a 5/8-inch hole through the bulkhead at a downward angle. Push the tube fully onto the spout until you hear a distinct click confirming secure fit.
Tighten Clamps to Specification for Secure Mounting
Clamp stability determines whether your cover stays put or shifts during driving. Under-tightened clamps wobble while over-tightened ones can damage rails. Following the correct torque specification ensures a secure installation without damage.
Torque Front, Center, and Rear Clamps Properly
Use a 1/2-inch socket wrench or ratchet. For best results, use a torque wrench set to 10 foot-pounds (120 inch-pounds). Start with the center clamp by removing the prop rod for access and inserting the clamp into the rail channel. Rotate the outer clamp downward to lock, then insert the inner clamp with bolt flush to the backside.
Position the center clamp in the lower notch first, then shift to the upper notch after alignment. For the front clamp, locate the spacer inside the rail and loosen the bolt until flush. Engage the lower notch and bring clamp halves together, seating it flush against the bed cap with no lifting or tilting.
For the rear clamp, clear the two bed pegs and position the clamp between them. Ensure the bolt is in the upper notch before tightening. Repeat on the opposite side and check that both rails are level and symmetrical before final tightening.
Position Cover and Align Panels for Smooth Operation
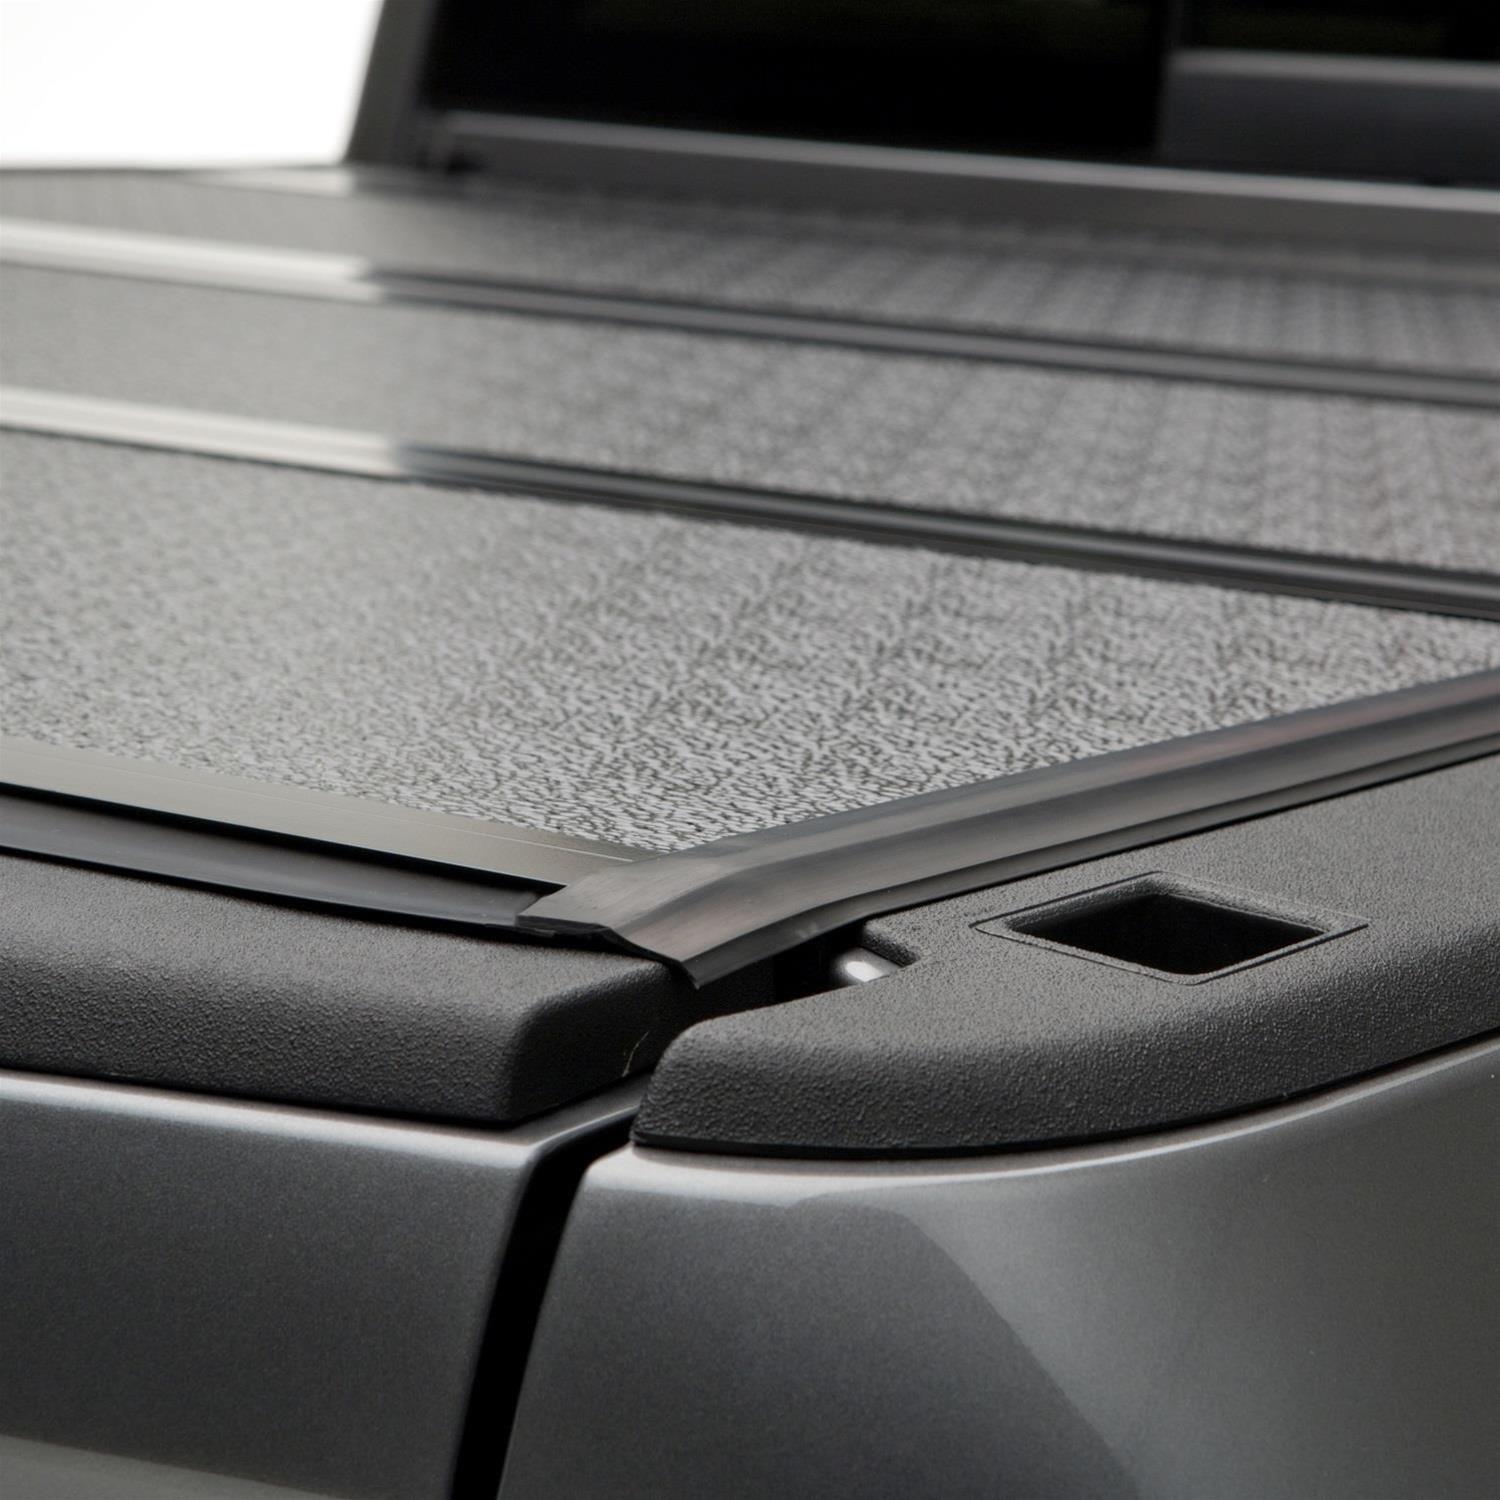
With rails secured, it is time to place the hard-folding cover onto your truck bed. Misalignment now leads to latching failures or tailgate interference. Taking time to get this step right prevents headaches later.
Set Cover with Shipping Blocks in Place
Do not remove the foam shipping blocks during initial placement. They maintain panel spacing and prevent hinge damage during installation. Ensure the smallest panel faces forward toward the cab and the front flap fully covers the front rail.
Lift the cover and lower it onto the side rails. Listen for a distinct click as the slam-action latches engage with the rail channels. Slide the cover forward until the tailgate closes smoothly without resistance. Use your knees to gently push the frame into contact with the bulkhead if needed.
Check for even gaps on both sides. Slight adjustment toward the driver side may improve alignment. Once centered, pull the latch release levers and fold the cover up against the cab to access the underside for hardware installation.
Attach Retaining Clamps and Star Knobs
Retaining clamps lock the cover to the rails and prevent accidental disengagement during driving. Proper hardware installation ensures your cover stays securely mounted through years of use.
Install Carriage Bolts and Hardware Correctly
Slide the two front mounting bolts into the track on the underside of the tonneau cover. Attach the retaining clamps to the bolts, ensuring the notch faces inward into the rail channel and the groove captures the rail lip.
For each bolt, stack a flat washer, then a lock washer, then the star knob. Tighten by hand first. Once you confirm the cover is centered and latches securely, fully tighten from underneath. There is no specified torque for these bolts, but tighten snugly enough to prevent movement without deforming the rail.
Test the cover movement by opening and closing it several times. If it binds or lifts, recheck clamp alignment and bolt tightness before proceeding.
Secure Clip Receivers and Test Latches
Clip receivers anchor the slam latches, ensuring the cover stays locked during driving. Proper installation of these components is essential for security and weather protection.
Mount Receivers with Coated Screws
Locate the large side holes on the cover panels and insert the coated screws. Do not remove the coating as it prevents corrosion and vibration loosening. Use a Number 2 Phillips head screwdriver to tighten each screw until snug. Over-tightening can strip the polymer housing.
The slam-action latches engage automatically when the cover is closed. Pull the release straps to unlock. These are compatible with your factory tailgate lock, adding an extra layer of security. After installation, test the latches 5 to 6 times. They should click firmly into place without requiring excessive force.
Install Prop Rods for Open-Cover Driving
Prop rods hold the cover open safely while you load or unload cargo. Proper installation of these components ensures safe operation when you need full bed access.
Lock Rods Into Ball Studs Securely
Pop up each prop rod and lock it into the ball stud on the cover frame. Both rods must be securely engaged before driving with the cover open. Each rod has a red thumb-actuated lever. Push it sideways with your thumb to release the ball stud. When not in use, hang the rod in the hairpin bracket mounted on the rail.
On Silverado models, ensure the LED light is installed first before finalizing the rear clamp on the driver side, as the rod and light share access points.
Add LED Lights on Silverado Models
The optional LED light system enhances nighttime bed access and is installed on the driver-side rail. This accessory adds convenience for users who frequently access their truck bed in low-light conditions.
Insert and Position Light Housing Correctly
Loosen the lock on the rail track and slide the LED housing along the track to your preferred position, usually near the center for balanced illumination. Remove the plastic bracket cover and end cap to access the interior. Slide the housing past the bracket, then re-secure the cover and cap.
Insert the included batteries and test the light before final tightening. Protect any wiring from pinch points or moisture exposure. Ensure the light does not interfere with prop rod movement or clamp hardware.
Apply Weather-Stripping on Silverado Models
On select models, weather-stripping creates a secondary seal between the cover and rail. This additional protection improves long-term durability in wet climates and prevents wind noise.
Press Strip Along Rail Top Edge
Apply the supplied foam weather-stripping along the top edge of both mounting rails. Press firmly along its entire length to ensure full adhesion. Trim excess material with a utility knife. The goal is a continuous, gap-free seal that blocks wind, dust, and light rain.
Test Cover Operation Before Driving
Final testing confirms your installation is safe, functional, and weather-ready. Skipping this step can lead to problems discovered only after you hit the road.
Open and Close Cover Smoothly
Close the cover fully. It should click into place without resistance. Open the tailgate and verify there is no interference between the cover and tailgate.
For partial bed access, slide the cover forward, disengage one clip from its receiver, and pull the release strap to unlock that side. Re-engage and tighten when done.
For full bed access, pull both latch release straps and fold all panels back toward the tailgate. Engage both prop rods and verify they are locked before driving. Fold panels one at a time, centering each to maintain alignment. Avoid forcing misaligned panels.
Fix Common Installation Issues
Even with careful setup, some issues arise, especially with bed liners or non-OEM rails. Knowing how to troubleshoot these problems saves time and frustration.
Correct Rail Misalignment Quickly
If the driver side rail leans inward or lifts, check the inner clamp lip orientation. It must face downward toward the bed. Aftermarket bed rails often lack the profile needed for proper clamp grip. Contact UnderCover Support at 866-900-8800 and they will send wedge gaskets free to correct minor lean.
One user resolved wobble by installing OEM bed rails. The clamps then seated flush and stayed secure. If clamps fall off when closing the cover, it is usually due to missing or non-standard bed rail shape, incorrect clamp notch position, or loose bolts. Reinstall with lip down, tighten to 10 ft-lbs, and request replacement clamps from UnderCover if needed.
Prevent Drain Tube Leaks
If water pools in the bed, ensure tubes are fully seated on spouts. You should hear a click when they connect properly. Confirm downward slope with no kinks or upward bends. Route behind drop-in liners if factory holes are not accessible.
Final Verification Checklist
Run through this check before driving to ensure your installation is complete.
Rails should be clamped at front, center, and rear, torqued to 10 ft-lbs. The bulkhead seal must be applied and trimmed with no gaps. Drain tubes should be secured and sloped downward. The cover clicks into place without binding. There should be no gaps between cover and rails. The tailgate closes without interference. Prop rods lock securely when open. All hardware is tightened without over-tightening. Bracket lips face downward. OEM bed rails are installed if required.
Frequently Asked Questions About Installing UnderCover Flex Tonneau Cover
How long does it take to install an UnderCover Flex tonneau cover?
The average installation takes about 60 minutes for most DIYers with moderate mechanical experience. Reported times range from 45 to 90 minutes depending on your experience level and whether a bed liner is present.
Do I need to drill holes to install the UnderCover Flex?
No, the UnderCover Flex uses a clamp-on rail system that attaches to factory bed rails without drilling in most configurations. No permanent modifications are required for standard installations.
What tools do I need to install the UnderCover Flex tonneau cover?
You will need a 1/2-inch wrench or socket, a Number 2 Phillips head screwdriver, scissors or a utility knife, a tape measure, and isopropyl alcohol with a clean cloth for surface preparation. A torque wrench is recommended for achieving the 10 ft-lbs specification.
Why is my rail leaning after installation?
Rail misalignment often occurs due to incorrect clamp orientation or aftermarket bed rails lacking the proper profile. The inner clamp lip must face downward toward the bed. Contact UnderCover at 866-900-8800 for free wedge gaskets to correct minor lean.
Can I install the UnderCover Flex on a truck with a drop-in bed liner?
Yes, but you may need to route drain tubes behind the liner or attach the bulkhead seal to the underside of the tonneau cover instead of the bulkhead directly. The liner blocks direct adhesion in some cases.
Key Takeaways for Installing Your UnderCover Flex Tonneau Cover
Installing an UnderCover Flex tonneau cover is a straightforward 60-minute project that delivers lasting weather protection, security, and improved aerodynamics for your truck. The most critical steps are proper rail alignment with the drain spout facing forward, correct clamp orientation with the lip facing downward, and securing all hardware to specification. Taking time to route drain tubes properly and apply the bulkhead seal prevents water intrusion issues down the road. If you encounter alignment problems, UnderCover customer service provides free corrective hardware including wedge gaskets and replacement clamps. With your cover properly installed, you will enjoy years of reliable bed protection and a sleek, professional appearance.


