
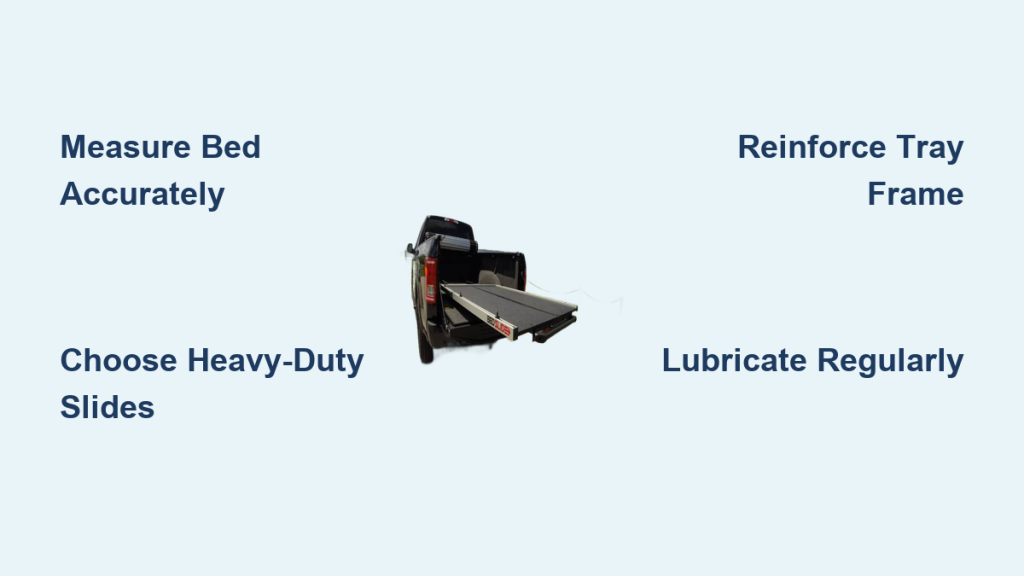
If you’ve ever wrestled with gear buried in the back of your truck, a DIY truck bed slide is the upgrade you didn’t know you needed. Whether you haul tools, coolers, or camping equipment, a sliding tray brings everything within easy reach. No more climbing in or blindly grabbing at cargo. Building a truck bed slide at home is a cost-effective project that adds real convenience to your vehicle.
You don’t need a professional workshop for this job. Just basic tools, materials from any hardware store, and a free weekend. This guide covers everything from measuring your bed to choosing materials and installing the slide mechanism. By the end, you’ll have a smooth-gliding system that transforms how you use your truck.
Measure Your Truck Bed the Right Way
Accurate measurements are the foundation of a slide that works properly. A tray that’s even slightly off can bind, scrape, or fail to extend fully.
Find Your Interior Bed Dimensions
Grab a tape measure and record the width, length, and height clearance of your truck bed. Take measurements at the front, middle, and rear. Truck beds are rarely perfectly square, so always use the narrowest width and shortest length as your guide.
Look for obstructions like wheel wells, stake pockets, or bed rails that might interfere with the tray. If you have a spray-in bed liner, add its thickness (usually around 1/8 inch) to your height calculation.
Plan Tray Size and Travel Distance
Most builders design the tray to extend 70 to 80 percent of the bed length when pulled out. Full extension is possible but demands stronger hardware and precise alignment.
Leave a 1/4-inch gap on each side of the tray. This clearance prevents rubbing against the bed walls and keeps movement smooth even under load.
Pick the Right Slide Mechanism
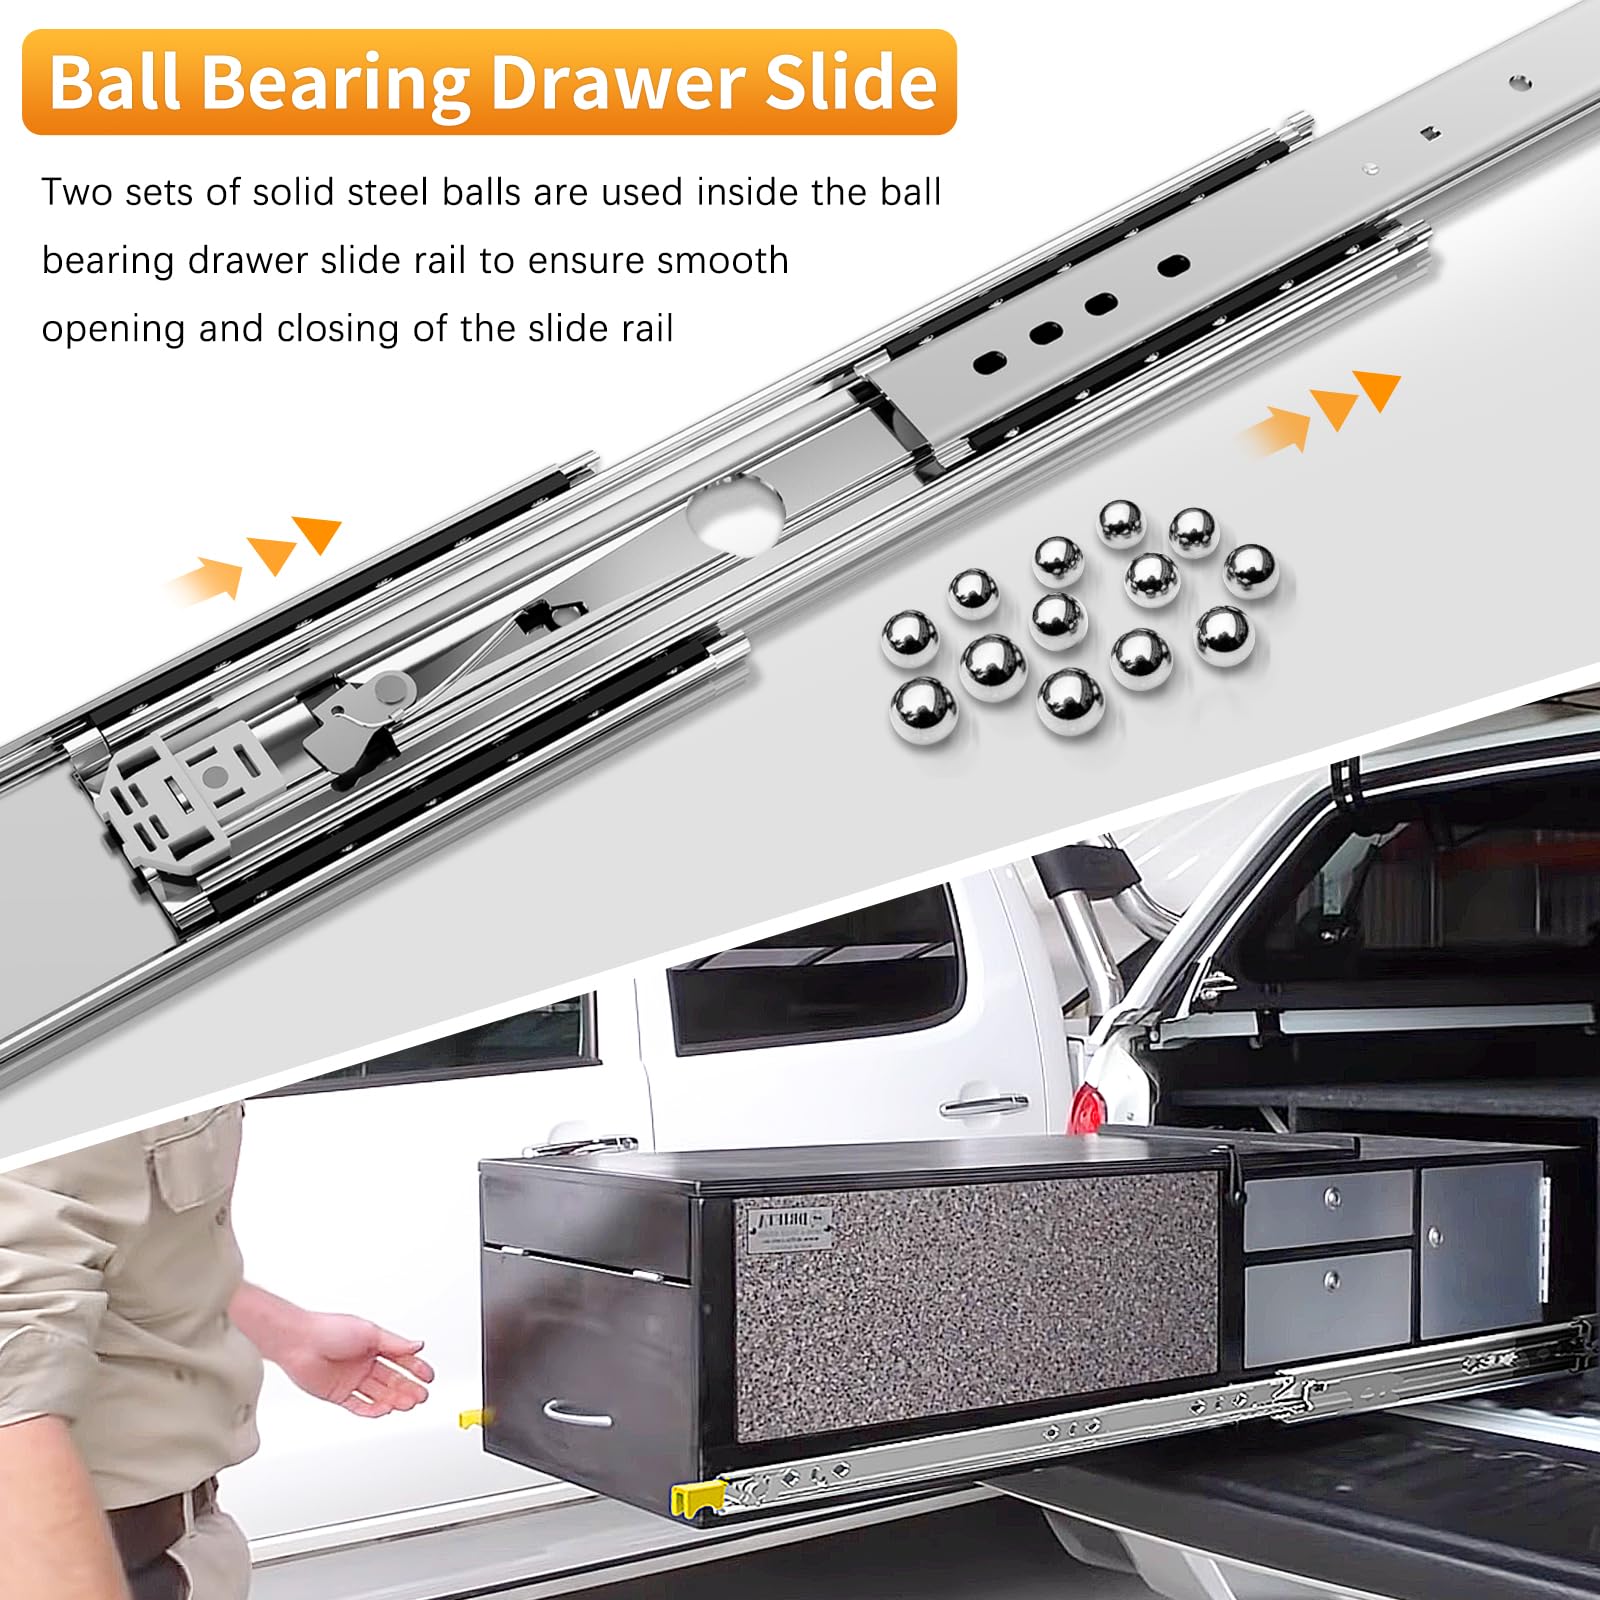
The slide hardware determines how much weight your system can handle and how smoothly it operates.
Use Heavy-Duty Drawer Slides for Light Loads
For loads under 200 lbs, high-quality ball-bearing drawer slides from a hardware store work great. Look for full-extension, 100% pull-out slides rated for 150 to 200 lbs per pair. Brands like Accuride and Hettich are reliable choices.
Mount two sets side-by-side to spread the weight evenly. Common lengths include 20, 24, and 30 inches. Pick a length that matches your desired travel distance.
Upgrade to Truck-Specific Slide Kits for Heavy Loads
If you carry tools, generators, or recovery gear, consider a heavy-duty truck bed slide kit. These come with sealed bearings, self-lubricating bushings, and corrosion-resistant coatings.
Pre-made kits from brands like Revolver or DEWEL handle 300 to 600 lbs. They cost more than drawer slides but save time and deliver smoother, longer-lasting performance.
Choose Your Tray Material

Your tray needs to handle weight without bending or sagging. The right material depends on your budget, climate, and load requirements.
Build with Plywood and Aluminum Angle
An affordable and effective option is marine-grade plywood (1/2 to 3/4 inch thick) framed with aluminum angle brackets. This combo resists moisture, won’t rust, and supports heavy loads when properly braced.
Cut the plywood to your planned tray size. Attach aluminum angles along the edges using stainless steel screws and marine epoxy. The frame prevents splintering and reinforces the corners.
Go All-Metal for Maximum Strength
For a tank-like build, construct the tray from aluminum or steel sheet on a welded frame. Aluminum stays lighter and won’t corrode. Steel is stronger but heavier and needs a protective coating to prevent rust.
Weld square tubing or channel steel into a rectangle, then bolt or rivet the metal sheet on top. Add non-slip tape or rubber matting so cargo doesn’t slide around.
Mount the Slides and Attach the Tray
With your materials ready, it’s time to put everything together. Take your time here—alignment is everything.
Install the Stationary Rails in the Bed
Position the stationary rail of each slide along the inner sidewalls of your truck bed. Use existing holes where possible, or carefully drill new ones while avoiding fuel lines and wiring.
Make sure both sides are level and the same distance from the front of the bed. Misaligned slides will bind and wear out fast. Clamp them in place first, then verify with a straightedge or laser level.
Secure the rails with grade-8 bolts or heavy-duty rivets. If you use bolts, apply thread locker to keep them from vibrating loose.
Attach the Moving Rails to the Tray
Mount the movable rail to the underside of your tray, aligning it with the stationary rail. Most manufacturers recommend spacing the rails 16 to 24 inches apart.
Use a spacer block or jig to keep both rails perfectly parallel. Pre-drill all holes to prevent splitting wood or cracking metal. Do a test fit before tightening everything down.
Test and Fine-Tune the Operation
Before loading anything onto your new slide, you need to confirm it moves freely and evenly.
Check for Smooth Movement
Slide the tray in and out several times. It should glide smoothly and evenly on both sides. If one side sticks, check for debris, warped rails, or loose mounting hardware.
Loosen the mounting screws slightly and reposition if needed. Small alignment errors can often be fixed by shimming with thin washers.
Lubricate the Moving Parts
Apply silicone-based lubricant or white lithium grease to the slide mechanisms. Avoid oil-based products, which attract dust and grime that cause wear.
Reapply every three to six months, or more often if you drive in dusty or wet conditions.
Add Safety Features and Tie-Downs

A few simple additions prevent accidents and keep your cargo secure.
Install Stops to Prevent Separation
Add limiting bolts or rubber bumpers at the rear of the slide track. These stop the tray from sliding completely off the rails when fully extended.
You can also add side lips or low rails around the tray edges. They keep small items from rolling off and give you places to hook bungee cords.
Add Tie-Down Points for Cargo
Drill holes in the tray corners and install threaded inserts or D-rings. These let you secure loads with straps or bungee cords.
On wood trays, reinforce the holes with metal washers or embedded nuts. Without reinforcement, the wood will strip out over time.
Load Test Before Regular Use

Never trust a new slide with full weight right away. Test it gradually to find any weak points.
Build Up Weight Slowly
Start with about 50 lbs and slide the tray in and out. Watch for sagging, wobbling, or unusual resistance. If everything looks good, add more weight in 50 lb increments.
If the tray sags under load, add a center support rail or crossbrace underneath. A 2×4 spine or aluminum I-beam works well for wood trays.
Stay Within Weight Limits
Exceeding the rated capacity leads to premature wear or sudden failure. Respect the manufacturer’s weight rating for drawer slides, or your calculated limit for custom builds.
Distribute weight evenly across the tray. Heavy loads on one side create extra friction and wear on that rail.
Keep Your Slide in Top Condition
A little regular maintenance goes a long way toward extending the life of your slide.
Clean After Heavy Use
Wipe down the tray and slides after hauling dirt, sand, or anything wet. Built-up debris grinds away at the bearings and finish.
Use a damp cloth with mild detergent. Skip the pressure washer, which can force water past seals and into the bearings.
Inspect for Wear Every Few Months
Check all bolts, screws, and welds for looseness or cracks. Look at the slide rails for scoring, pitting, or bending.
Replace any worn parts immediately. A failed slide at highway speed is a serious safety hazard.
Frequently Asked Questions About Truck Bed Slides
What is the best material for a truck bed slide tray?
Marine-grade plywood framed with aluminum angle is the most popular choice for DIY builds. It’s affordable, moisture-resistant, and strong enough for most loads. For heavy-duty use, aluminum or steel construction offers more strength and longevity.
How much weight can a DIY truck bed slide hold?
Weight capacity depends on your slides and tray construction. Ball-bearing drawer slides typically support 150 to 200 lbs per pair. Heavy-duty truck-specific kits can handle 300 to 600 lbs. Custom all-metal builds can exceed 600 lbs with proper engineering.
Can I build a truck bed slide without welding?
Yes. You can assemble a sturdy slide using bolts, rivets, and screws. Plywood trays with aluminum angle frames need no welding at all. Metal-framed trays can be assembled with self-tapping screws and pop rivets for strong, weld-free joints.
How long does it take to build a truck bed slide?
Most DIY builds take between 4 and 8 hours, depending on complexity and tools. A simple plywood-and-drawer-slide version can be finished in a single afternoon. All-metal builds with industrial slides take longer.
Will a truck bed slide damage my bed liner?
A properly built slide with adequate clearance should not damage your bed liner. Leave at least 1/4 inch of space on all sides and use felt or rubber padding where the slide contacts the bed. This prevents scratches and noise.
Key Takeaways for Building Your Own Truck Bed Slide
A truck bed slide is one of the most practical upgrades you can make to your vehicle. Start with careful measurements and choose slides rated for at least 20 percent more than your typical load. Quality hardware and a solid tray material are worth the extra cost.
Building your own truck bed slide saves hundreds over commercial systems while giving you a perfect fit for your vehicle. With the right materials, a few hours of work, and some basic tools, you’ll have a professional-grade storage solution. Measure twice, cut once, and your new slide will deliver years of reliable service.