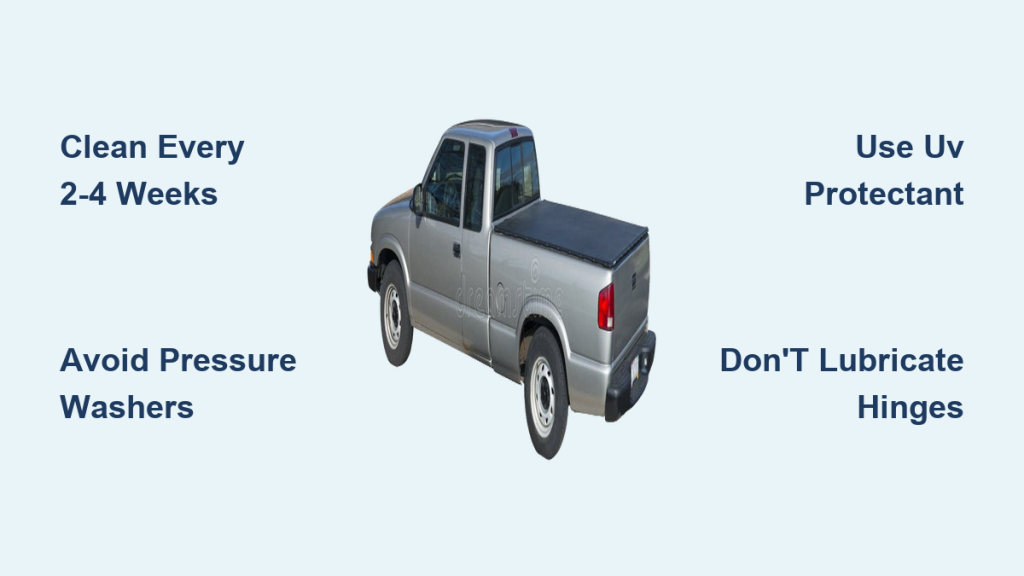
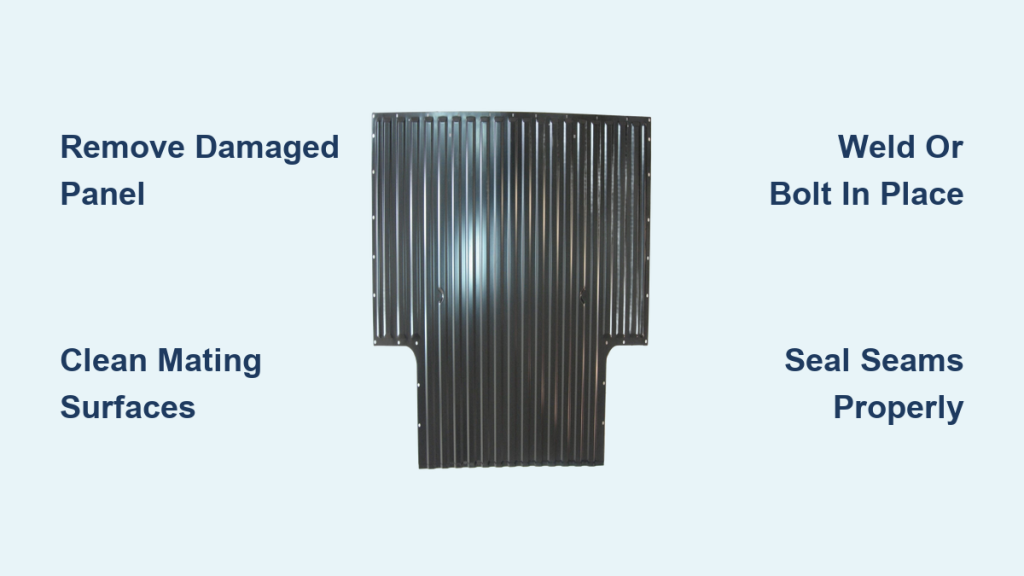
Your truck bed takes a beating from heavy cargo, weather exposure, and off-road adventures. Over time, rust, dents, and structural damage can compromise both the look and function of your truck. One of the most effective restoration methods is learning how to replace a truck bed panel. This guide walks you through every step, from removing the damaged section to installing a new panel with precision.
Replacing a truck bed panel is not just about curb appeal. A damaged side panel or front wall can lead to further corrosion, weakened frame integrity, and even safety risks during transport. Fortunately, with the right tools, materials, and approach, this repair is achievable for DIYers with intermediate mechanical skills. In this guide, you will learn how to safely remove an old panel, prepare the truck for installation, align and secure a new one in place, and finish with weatherproofing for long-term durability.
Essential Tools and Materials
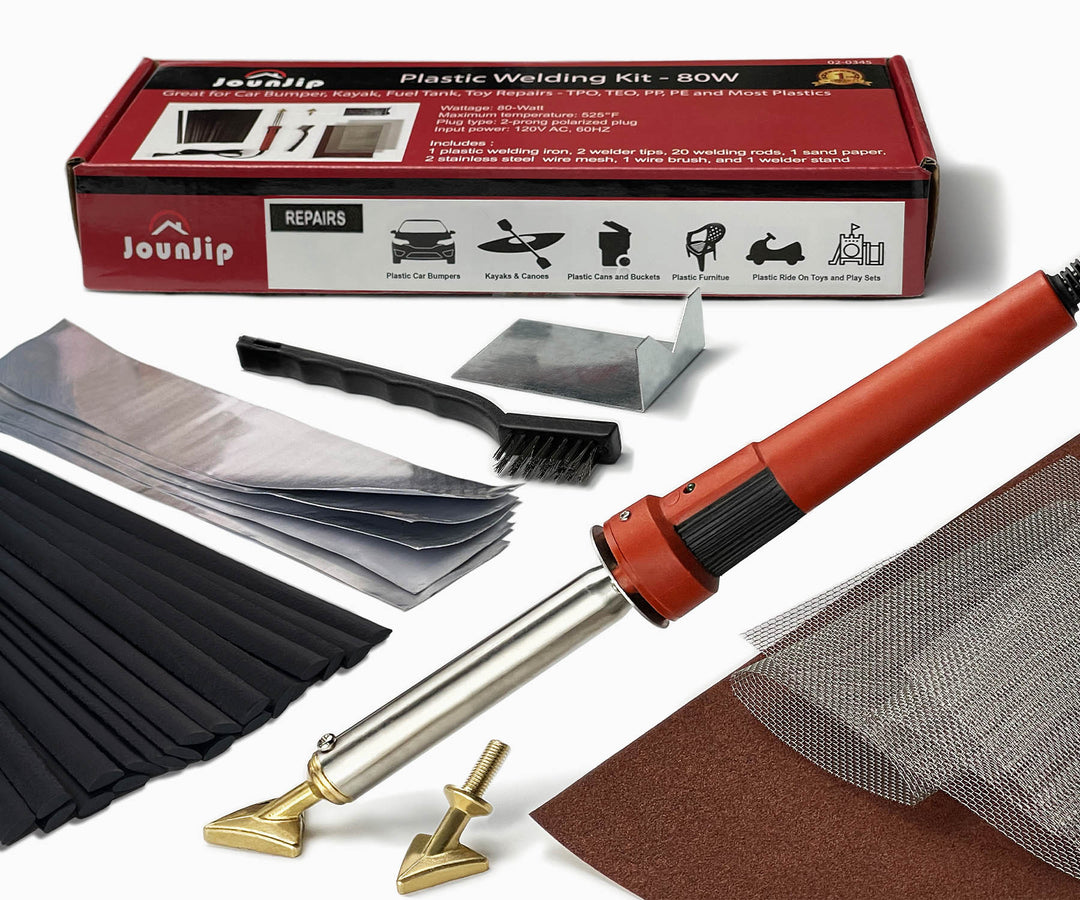
Before starting, gather all necessary supplies. Having everything on hand prevents delays and ensures a clean, efficient job.
Required Tools for Panel Replacement
- Angle grinder with cutoff and grinding wheels
- Welding machine (MIG recommended)
- Drill with metal drill bits and knockout punch
- Body hammer and dolly set
- Clamps (C-clamps and sheet metal clamps)
- Tape measure and straight edge
- Safety gear (gloves, goggles, respirator)
Materials Needed
- Replacement truck bed panel (side, front, or rear)
- Self-tapping sheet metal screws or rivets (if not welding)
- Bed liner or rust-inhibiting primer
- Sealant (butyl or polyurethane-based)
- Anti-corrosion spray for frame and seams
Make sure the replacement panel matches your truck’s make, model, and bed size. Common models include F-150, Silverado 1500, RAM 1500, and Toyota Tacoma, each with specific panel dimensions.
Remove the Damaged Truck Bed Panel
Start by safely detaching the old, damaged panel. This step requires care to avoid harming surrounding metal or wiring.
Disconnect Electrical Components
Some bed panels house bed lights or wiring harnesses. Locate and disconnect any electrical connections near the panel. Use a multimeter to confirm power is off before cutting near wiring paths.
Cut Along Seam Lines
Use an angle grinder with a thin cutoff wheel to slice through factory welds along the panel’s edges. Focus on:
- Top seam where panel meets bed rail
- Bottom flange attached to bed floor
- Front or rear interface with cross supports
Avoid cutting into the bed floor or frame rails. Work slowly to prevent warping adjacent metal.
Peel Back and Remove Old Metal
Once all welds are severed, gently pry the panel away using a flat bar. If rust has bonded layers, apply penetrating oil and work in sections. Clean all mating surfaces after removal by grinding off remaining weld beads and rust until bare metal is exposed.
Prepare the Truck Bed for Installation
A clean, flat mounting surface ensures a proper fit and long-lasting seal.
Clean and Inspect the Frame
Check the bed floor and support rails for hidden rust or structural damage. Treat any corroded areas with a wire brush and apply rust converter before proceeding.
Dry-Fit the New Panel
Position the replacement panel without fasteners to verify alignment. It should sit flush with the bed rails and meet the floor evenly. If gaps exceed 1/8 inch, adjust by gently bending the panel or shimming during clamping.
Use clamps to hold the panel in place while checking all angles. Ensure the tailgate or cab interface aligns properly, since misalignment can cause binding or gaps later.
Install the Replacement Truck Bed Panel
Now secure the new panel using welding or mechanical fasteners, depending on your setup and skill level.
Weld the Panel in Place (Recommended)
For strongest results, MIG weld the panel along all seams:
- Top edge to bed rail (intermittent 1-inch stitches)
- Bottom flange to bed floor
- Ends at cross supports
Use low heat settings to prevent warping. Alternate weld locations to manage heat distribution. Grind welds smooth for a factory-like finish.
Pro Tip: Clamp a heat sink (like a wet rag or metal plate) near weld zones to reduce distortion.
Bolt-On Alternative for Non-Welders
If welding is not an option, use self-tapping sheet metal screws or pop rivets every 6 to 8 inches along flanges. Apply butyl tape or sealant under the panel before fastening to prevent leaks.
While less durable than welding, this method works well for temporary fixes or lighter-duty use.
Seal and Finish the Repair
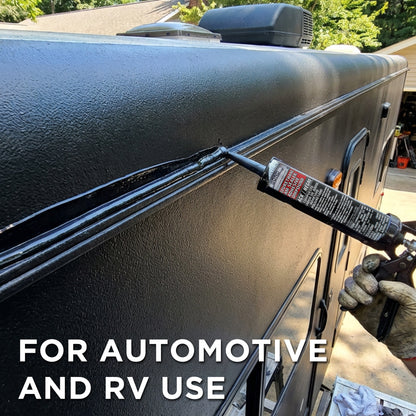
Protect your work from moisture and corrosion with proper sealing and coating.
Apply Seam Sealant
Run a continuous bead of polyurethane seam sealer along all joints, especially where the panel meets the floor and rails. Smooth with a gloved finger or tool for full coverage.
Prime and Paint
Spray the welded or fastened areas with rust-inhibiting primer, then match the factory bed color with spray paint or bed liner. Consider a rubberized undercoating for added durability.
For full protection, apply a spray-in bed liner over the entire bed after repair.
Troubleshoot Common Fit Issues
Even with careful prep, alignment problems can occur.
Panel Will Not Sit Flush
If the new panel bows or gaps, check for:
- Misaligned clamps during fitment
- Bent factory flanges on the bed floor
- Incorrect panel model or bed size
Gently reshape with a hammer and dolly, or reposition mounting points.
Gaps at the Top Rail
This often means the panel was not seated fully. Reopen one edge, re-clamp, and work progressively from top to bottom.
Avoid over-welding or over-tightening screws, which can pull metal out of alignment.
Prevent Future Damage and Rust
Maintaining your truck bed extends the life of the new panel.
Regular Cleaning Routine
Wash the bed monthly, especially after hauling debris or driving in salty conditions. Use a degreaser and soft brush to remove grime from seams.
Apply Bed Liner Annually
Touch up worn areas of bed liner to shield against scratches and moisture. Use a DIY spray kit for small repairs.
Inspect Seams Twice a Year
Look for cracks in sealant, bubbling paint, or early rust spots. Address small issues before they spread.
Frequently Asked Questions About Replacing a Truck Bed Panel
Can I Replace a Truck Bed Panel Without Welding?
Yes. You can use self-tapping sheet metal screws or pop rivets to secure the panel, then seal the seams with butyl tape or polyurethane sealant. This method is less durable than welding but works for temporary or light-duty repairs.
How Long Does It Take to Replace a Truck Bed Panel?
Most DIYers complete the project in 6 to 10 hours, depending on rust severity, welding skill, and whether the panel is side, front, or rear. Add extra time for paint and sealant curing.
What Is the Best Replacement Panel Material?
Most factory-style replacement panels are made from stamped steel that matches OEM thickness. Look for panels with rust-resistant coatings or pre-primed surfaces for longer life.
Do I Need to Remove the Bed Liner Before Replacement?
Yes. Remove any spray-in or drop-in bed liner materials covering the damaged panel. A clean surface is essential for proper welding, fastening, and sealing.
How Do I Stop Rust From Coming Back After Replacement?
Apply rust-inhibiting primer, seam sealer, and a topcoat or bed liner. Inspect seams twice a year and wash the bed regularly to remove salt and debris.
Can I Replace Just One Section of a Rusted Truck Bed Panel?
Yes. Many trucks allow section replacements instead of full panels. You can cut out the rusted section and weld in a patch, provided you maintain structural integrity and seal all seams thoroughly.
Key Takeaways for a Successful Truck Bed Panel Replacement
Replacing a truck bed panel is a rewarding project that restores both form and function. Focus on clean surfaces, accurate fitment, and corrosion protection to make the repair last. Whether you weld or bolt, attention to detail during prep and sealing makes all the difference. Start by gathering the right tools, match the panel to your exact truck model, and inspect the frame for hidden rust before installing. Once you know how to replace a truck bed panel the right way, you are ready to tackle rust, dents, and damage like a pro.